
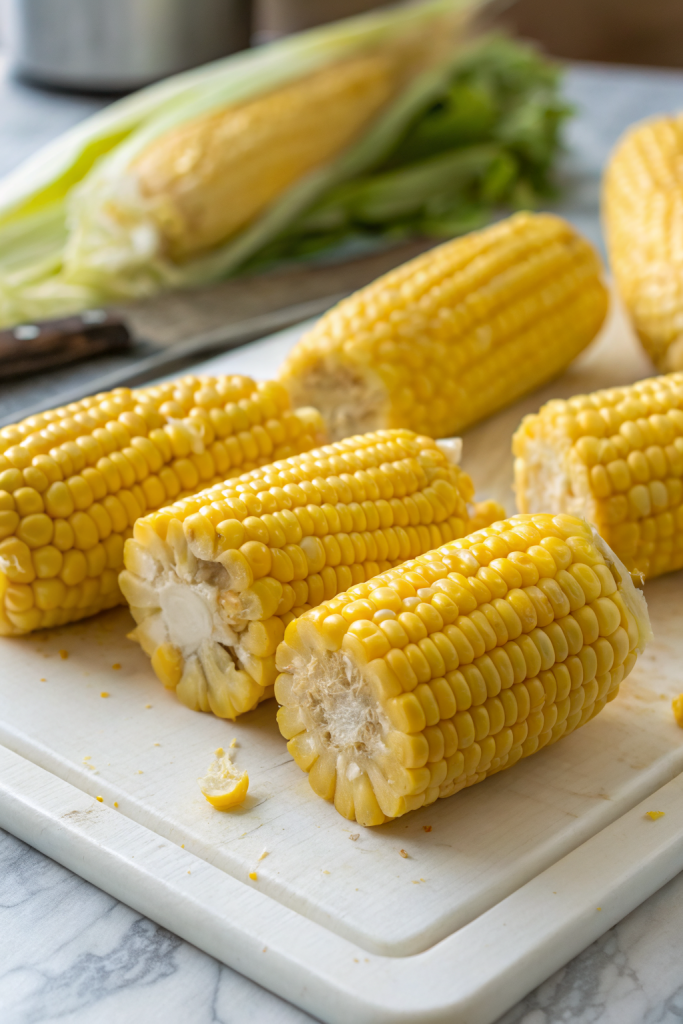
How to Freeze Corn on The Cob tastes sweet and sunny even in the middle of winter, and anyone who loves summer corn but hates food waste will love that it takes under an hour of hands-on time. This method works for busy parents, meal preppers, gardeners with bumper crops, or anyone who impulse-buys a dozen ears at the farm stand. I grew up in the Midwest with a dad who measured summer by how many freezer bags of corn we packed, so I take this topic very seriously… and a little personally.
Why You Should Try This Freeze Corn on The Cob Recipe
Frozen corn on the cob keeps that fresh, milky sweetness that canned corn never quite matches. You control the salt, the texture, and the quality, so your winter chowders and weeknight tacos taste like August.
You also save money and time. You buy corn at peak season prices, prep it once, then enjoy it for months with almost zero effort on busy nights.
“This method kept my corn bright, sweet, and crisp all winter long, and my kids thought it tasted like it came straight off the grill. ★★★★★”
Ingredients You’ll Need
Fresh corn
- Fresh corn on the cob
- Choose ears with bright green, snug husks and slightly sticky silk.
- Kernels should look plump and tightly packed, with no big gaps.
- Yellow, white, or bicolor all freeze well, so pick your favorite.
Water, salt, and optional add-ins
- Water
- Use enough to cover the ears in your largest pot.
- Kosher salt (optional for blanching)
- I like Diamond Crystal because it dissolves quickly and tastes clean.
- Skip salt if you prefer to season only when you cook later.
- Ice
- You need a lot of ice for a strong ice bath that cools the corn fast.
- Optional flavor helpers for serving later (not for freezing stage)
- Butter or olive oil
- Garlic powder, smoked paprika, chili powder, or Old Bay
- Lime juice, grated Parmesan, or crumbled cotija
Pantry shortcuts and substitutions
- If you cannot find great fresh corn, you can still use supermarket ears, but pick the ones with the freshest husks.
- If you lack enough ice, chill water in the fridge ahead of time and add what ice you have to boost the chill.
- If you dislike blanching, you can freeze raw corn kernels, but they lose sweetness faster and soften more when cooked.
Equipment list
- Large stock pot or Dutch oven
- Large bowl for ice bath
- Tongs
- Sharp chef’s knife
- Cutting board with a groove if possible
- Bundt pan or small bowl to stand the cob on while cutting (helps catch kernels)
- Sheet pan
- Parchment paper or silicone mat
- Freezer-safe bags or containers (zip-top freezer bags work great)
- Permanent marker for labeling
Tips & Tricks
- Buy corn the same day you freeze it so you catch peak sweetness.
- Keep corn cold until you prep it, since heat converts sugars to starch and dulls flavor.
- Husk corn right before blanching so it stays juicy.
- Trim the stem end slightly so you can grip the cob easily.
- Use a big pot and plenty of water so the temperature stays hot when you add the corn.
- Blanch whole ears 4 to 6 minutes, depending on size, then move them straight into an ice bath.
- Cool the corn completely in the ice bath so it stops cooking and keeps a crisp bite.
- Dry the ears very well with clean towels so ice crystals do not coat the kernels.
- Freeze whole ears on a sheet pan first so they do not stick together in the bag.
- If you want kernels only, cut them off after blanching and cooling, then freeze them in a single layer.
- Leave a little headspace in freezer bags so you can press out air and flatten them for easy stacking.
- Label every bag with date and quantity so you know what you have and how long it sat in the freezer.
- Use frozen corn within 8 to 10 months for best flavor and texture.
- Reheat gently in simmering water or a covered skillet so the kernels stay crisp and juicy.
How to Freeze Corn on The Cob
1: Prep the corn
Pull off the outer husks and discard them. Peel back the remaining husks and remove as much silk as you can with your hands. Use a clean, slightly damp kitchen towel to wipe off stubborn silk strands.
Trim the stem end of each cob so you have a flat base. Line a sheet pan with parchment or a silicone mat and set it aside. Fill a large bowl with ice and cold water so your ice bath stands ready.
2: Blanch the corn
Fill a large stock pot with water and bring it to a strong boil over high heat. Add a small handful of kosher salt if you like lightly seasoned corn. Once the water boils hard, gently lower the ears into the pot with tongs.
Return the water to a boil, then start timing. Blanch small ears for about 4 minutes and large ears for about 6 minutes. The kernels should look brighter and slightly more opaque but still feel firm when you poke one with a knife tip.
3: Shock in an ice bath
Lift the corn from the pot with tongs and move it straight into the ice bath. Stir the ears around so cold water hits every surface. Add more ice if it melts quickly.
Cool the corn completely, about 5 to 10 minutes, until the cobs feel cold all the way through. This step stops the cooking and keeps the texture crisp instead of mushy. Drain the corn well in a colander.
4: Dry the corn thoroughly
Spread clean kitchen towels or paper towels on your counter. Lay the cooled ears on the towels and pat them dry on all sides. Take your time here, because excess moisture creates icy surfaces and freezer burn.
Rotate each cob and blot between the rows of kernels as much as you reasonably can. Let the corn air dry for another 5 to 10 minutes while you clean up the pot and ice bath. You want the surface to feel dry, not slick.
5: Choose whole ears or kernels
Decide how you plan to use the corn later. If your family loves corn on the cob with butter, freeze the ears whole. If you cook a lot of soups, salads, or casseroles, cut the kernels off first.
To cut kernels, stand a cob upright in the center hole of a Bundt pan or on a small bowl set inside a larger bowl. Run a sharp knife down the cob, close to the core, to slice off the kernels. Rotate and repeat until you strip the cob, then move to the next one.
6: Pre-freeze on a sheet pan
Arrange whole ears or loose kernels in a single layer on the lined sheet pan. Keep space between them so air can circulate and nothing clumps together. Slide the pan into the freezer and chill until the corn feels firm, about 1 to 2 hours.
This step gives you individually frozen ears or loose kernels that pour easily from a bag. It also helps prevent big frozen bricks that you have to chisel apart with a spoon. Your future self will thank you.
7: Pack and label
Transfer the frozen ears or kernels into freezer-safe bags or containers. Fill each bag about three-quarters full so you can press out air and flatten it. Squeeze out as much air as you can, then seal tightly.
Label each bag with the date, number of ears or approximate cup measure of kernels, and any notes like “sweet bicolor” or “great for chowder.” Stack the bags flat in the coldest part of your freezer, not in the door. Keep them away from items with strong odors like onions or fish.
8: Reheat
When you want corn on the cob, pull out as many ears as you need. Bring a pot of water to a gentle simmer, add the frozen ears, and heat 4 to 6 minutes until hot. You do not need to thaw first.
For kernels, toss them straight from the freezer into soups, stews, or skillet dishes. If you want them as a side, sauté them in a little butter or oil with salt and spices for 5 to 7 minutes. They keep a nice pop when you heat them gently and avoid boiling them to death.
What to Serve with it
Frozen corn on the cob pairs beautifully with grilled chicken, turkey burgers, or simple baked fish. You can also serve it next to veggie-packed black bean tacos or a big green salad for a lighter meal. For kids, add it to a plate with baked chicken tenders and roasted potatoes and watch it disappear.
Use frozen kernels in corn chowder, taco salads, skillet hash with potatoes and peppers, or mixed into cooked rice with a squeeze of lime. I also love to toss warm kernels with cherry tomatoes, avocado, and a little feta for a quick side dish.
Storage Options
- Store frozen corn on the cob or kernels in tightly sealed freezer bags or containers for 8 to 10 months for best flavor.
- Keep the bags stacked flat in the coldest part of your freezer, not in the door, so the temperature stays steady.
- If you blanch and then chill corn in the fridge before freezing, keep it no longer than 1 day before you move it to the freezer.
- Reheat whole ears from frozen in gently simmering water for 4 to 6 minutes, or wrap in a damp paper towel and microwave in short bursts until hot.
- Reheat kernels by sautéing in a skillet over medium heat with a little butter or oil, or stir them directly into hot soups and casseroles near the end of cooking.
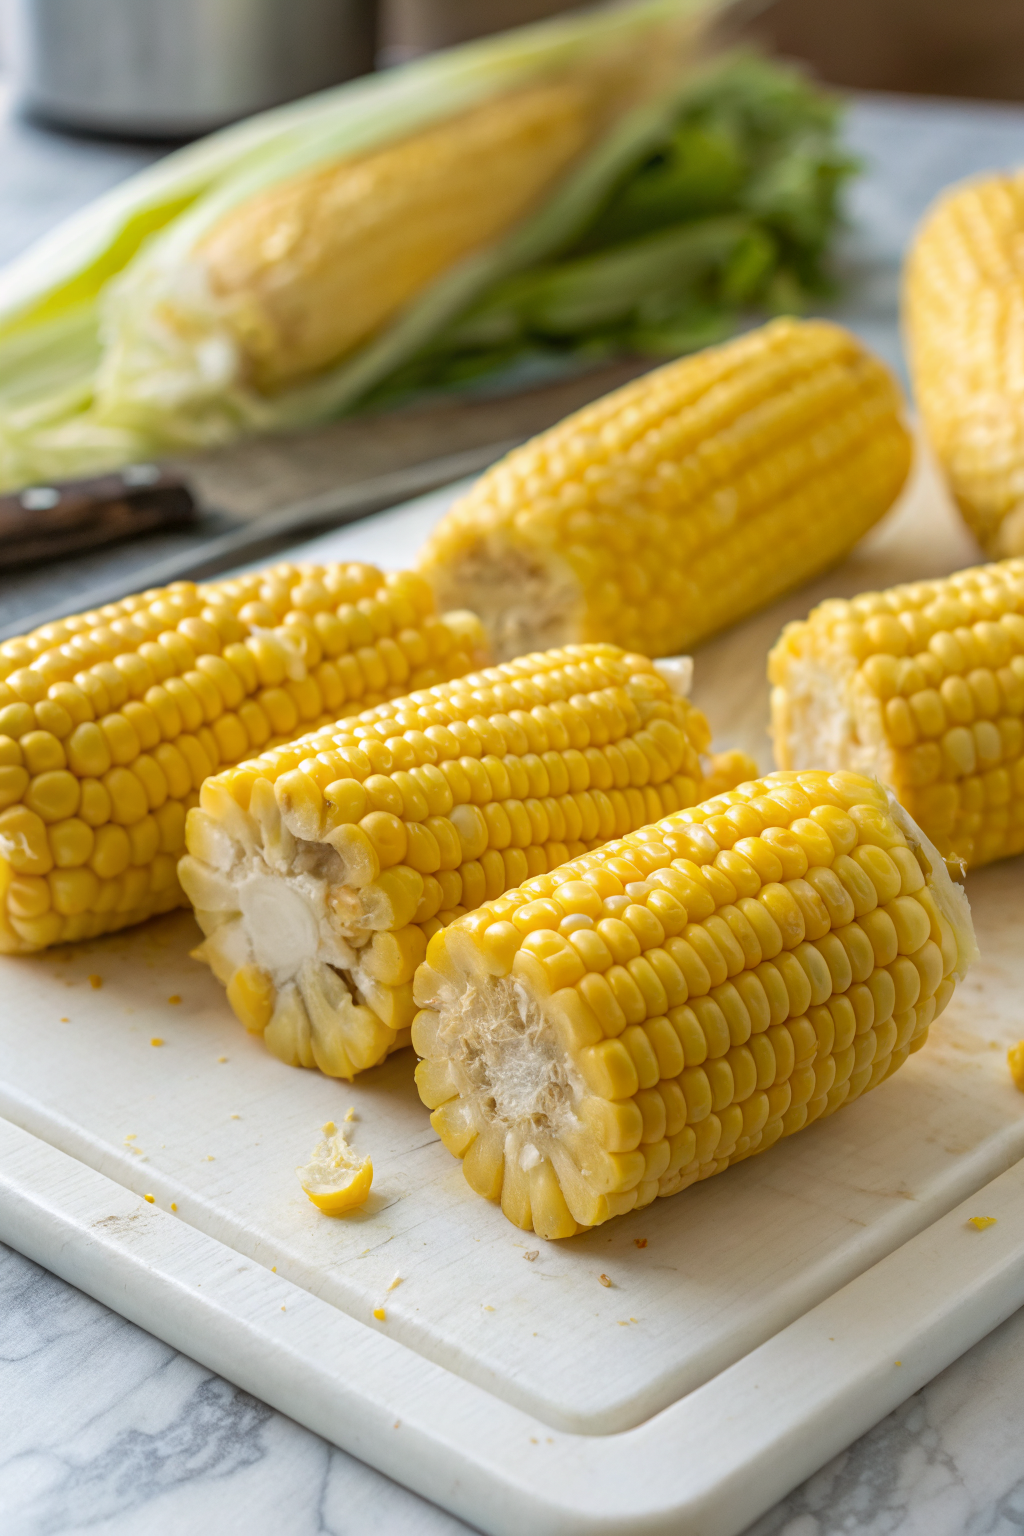
How to Freeze Corn on the Cob
Ingredients
Instructions
- Prep the corn by pulling off the outer husks, peeling back the remaining husks, and removing as much silk as possible. Use a clean, slightly damp kitchen towel to wipe away stubborn strands. Trim the stem end of each cob so it has a flat base. Line a sheet pan with parchment or a silicone mat and set aside. Fill a large bowl with ice and cold water for an ice bath.
- Blanch the corn by filling a large stock pot with water and bringing it to a strong boil over high heat. Add kosher salt if you like lightly seasoned corn. Once boiling hard, gently lower the ears into the pot with tongs, return to a boil, then blanch small ears for about 4 minutes and large ears for about 6 minutes, until the kernels look brighter but still feel firm.
- Shock the corn in an ice bath by lifting the ears from the pot with tongs and placing them directly into the ice water. Stir so cold water hits all surfaces, adding more ice as needed. Cool completely, 5 to 10 minutes, until the cobs feel cold all the way through, then drain well in a colander.
- Dry the corn thoroughly by laying cooled ears on clean kitchen towels or paper towels and patting them dry on all sides. Rotate each cob and blot between the rows of kernels as much as you reasonably can. Let them air dry for another 5 to 10 minutes, until the surface feels dry, not slick.
- Decide whether to freeze whole ears or kernels. For kernels, stand a cob upright in the center hole of a Bundt pan or on a small bowl set inside a larger bowl. Run a sharp knife down the cob, close to the core, to slice off the kernels, rotating until the cob is stripped. Repeat with remaining ears.
- Pre-freeze on a sheet pan by arranging whole ears or loose kernels in a single layer on the prepared pan, leaving space between pieces. Freeze until the corn feels firm, about 1 to 2 hours, so the ears and kernels do not clump together.
- Pack and label by transferring the frozen ears or kernels into freezer-safe bags or containers. Fill each bag about three-quarters full, press out as much air as possible, then seal. Label with the date, quantity, and any notes, and stack flat in the coldest part of the freezer.
- To reheat later, simmer frozen ears in gently boiling water for 4 to 6 minutes, or sauté frozen kernels in a skillet with a little butter or oil for 5 to 7 minutes, or add them directly to hot soups, stews, and casseroles near the end of cooking.
Notes
Approximate per 1 ear (from 1 medium ear corn, blanched, no added butter): 77 calories; fat 1 g; saturated fat 0 g; carbohydrates 17 g; fiber 2 g; sugars 6 g; protein 3 g; sodium 15 mg (without added salt in the water). Values will vary based on ear size, amount of salt used in blanching, and any seasonings or fats added when serving.
Leave a Reply