
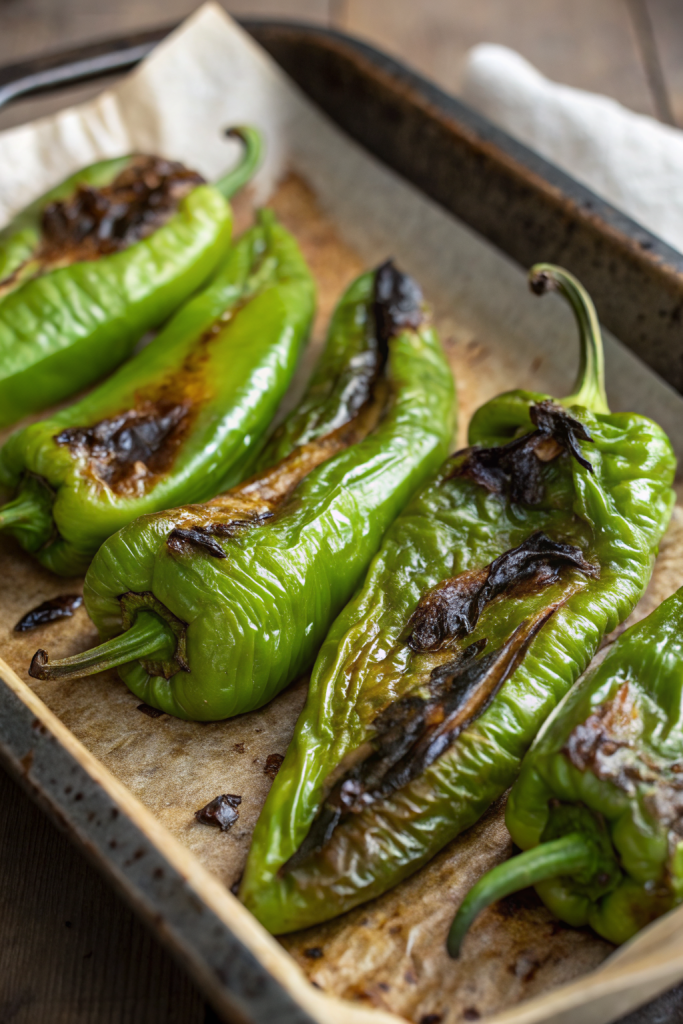
How to Roast Hatch Chile in the Oven tastes smoky, slightly sweet, and just spicy enough to keep things interesting. It works perfectly for busy home cooks who want big flavor in about 30 to 40 minutes, start to finish. I grew up chasing chile season at every farmers market near me, so I feel like we are in the same club right now.
Why You Should Try This Roast Hatch Chile in the Oven
Hatch chile season runs short, so this method lets you stock up and enjoy that flavor all year. The oven gives you blistered skins and deep roasted flavor without any special gear or outdoor grill.
You can roast a big batch at once, then freeze portions for tacos, eggs, soups, and burgers. Your kitchen will smell like your favorite New Mexican roadside stand, minus the long line.
“This Roast Hatch Chile in the Oven method gave me smoky, restaurant-level chiles in my tiny apartment kitchen, and now I roast a double batch every week of chile season. ★★★★★”
Ingredients You’ll Need
Fresh produce
- Fresh Hatch chiles
- Any heat level works: mild, medium, or hot.
- Choose firm, glossy peppers with no soft spots.
- You can use Anaheim or poblano peppers if you cannot find Hatch.
Pantry items
- Neutral oil (optional)
- Use avocado, canola, or grapeseed oil.
- A light rub of oil helps skins blister evenly, but dry roasting also works.
- Kosher salt
- I prefer Diamond Crystal for easier pinching and sprinkling.
- Lime juice (optional, for serving)
- Bottled lime juice works in a pinch, though fresh tastes brighter.
Optional flavor add-ins
You can keep the chiles plain or season them after roasting.
- Garlic powder or granulated garlic
- Ground cumin
- Smoked paprika
- A small splash of apple cider vinegar for tang
- Chopped cilantro or green onion for topping
Equipment list
- Large rimmed baking sheet
- Line it with foil for easier cleanup.
- Wire rack that fits inside the baking sheet (optional, but helpful)
- This lets hot air circulate and roast the chiles more evenly.
- Tongs with good grip
- Oven mitts
- Large bowl
- Plastic wrap, a tight lid, or a large zip-top bag
- You will use this to steam the chiles so the skins loosen.
- Cutting board and sharp knife
- Small spoon or the back of a butter knife to scrape out seeds
- Food-safe gloves if you use hot Hatch chiles and want to protect your hands
Tips & Tricks
- Choose chiles that feel heavy for their size and look shiny and firm.
- Roast similar sized chiles together so they blister at the same rate.
- Dry the chiles thoroughly after washing so they char instead of steam.
- Space chiles in a single layer with a little room between each one.
- Use the top oven rack position to get closer to the broiler heat.
- Turn the chiles every few minutes so all sides blister and blacken.
- Let the chiles steam in a covered bowl for 10 to 15 minutes so the skins peel off easily.
- Peel gently and leave some charred bits if you like a stronger smoky taste.
- Remove seeds and ribs if you want milder heat, or leave some in for more kick.
- Wear gloves when handling hotter chiles and avoid touching your face.
- Freeze roasted chiles in flat portions so they thaw quickly and stack neatly.
- Label bags with heat level and date, or you will play freezer roulette later.
How to Roast Hatch Chile in the Oven
Step 1: Prep the chiles and pan
Preheat your oven to broil on high and move an oven rack to the upper third of the oven. Line a rimmed baking sheet with foil and place a wire rack on top if you use one. Rinse the Hatch chiles, dry them very well with a clean towel, and keep them whole with stems attached.
If you want, rub the chiles lightly with a teaspoon or two of neutral oil. Arrange the chiles in a single layer on the rack or directly on the foil. Leave a little space between each chile so hot air can circulate.
Step 2: Roast under the broiler
Place the baking sheet on the top rack under the broiler. Roast the chiles for about 4 to 6 minutes, until the tops blister and blacken in spots. Watch closely, since every broiler runs a little different and chiles can go from perfect to ash pretty quickly.
Use tongs to turn each chile a quarter turn. Roast another 3 to 5 minutes, then turn again. Continue to roast and turn until most of the skin on each chile looks blistered and charred, usually 10 to 15 minutes total.
Step 3: Steam the chiles
Transfer the hot roasted chiles to a large bowl. Cover the bowl tightly with plastic wrap or a lid so the chiles trap their own steam. Let them sit undisturbed for 10 to 15 minutes.
The steam loosens the skins and makes peeling much easier. You can also place the hot chiles in a large zip-top bag and seal it, then rest them on a towel on the counter. Use that time to tidy the kitchen or toast some tortillas.
Step 4: Peel and seed
After the steaming time, uncover the bowl. The chiles should feel warm but not scorching hot. Slip the skins off gently with your fingers, or scrape them with the back of a knife.
Split each chile lengthwise on a cutting board. Open it like a book and scrape out the seeds and white ribs with a small spoon if you want a milder result. Pat the roasted flesh dry with a paper towel if it looks very wet, especially if you plan to chop and sauté it later.
Step 5: Season and use
At this point, you have basic roasted Hatch chiles. You can chop them, slice them into strips, or leave them in larger pieces. Taste a small bit and sprinkle with a pinch of salt.
If you want extra flavor, toss the chopped chiles with a little lime juice, garlic powder, cumin, and smoked paprika. Use them right away in eggs, quesadillas, burgers, soups, or green chile sauce. Save a few pieces to snack on straight from the cutting board, which I always do.
What to Serve with Roast Hatch Chile
Roasted Hatch chiles taste amazing tucked into breakfast burritos, folded into scrambled eggs, or layered over cheesy quesadillas. You can spoon them over grilled chicken, turkey burgers, or roasted vegetables for a quick flavor upgrade. They also mix nicely into mac and cheese, baked potatoes, or a simple pot of beans.
Serve them with warm tortillas, rice, avocado slices, and a squeeze of lime for a simple meal. A cold glass of iced tea, horchata, or sparkling water with lime pairs nicely with the gentle heat. If you feel extra hungry, add tortilla chips and salsa on the side and call it dinner.
Storage Options
- Fridge: Store peeled, seeded roasted Hatch chiles in an airtight container in the refrigerator for up to 5 days.
- Freezer (whole or sliced): Lay chiles flat in a single layer in a zip-top bag, press out extra air, and freeze for up to 6 months.
- Freezer (portioned): Chop chiles and freeze them in ice cube trays or small containers, then pop out portions into a labeled freezer bag.
- Reheating: Add frozen or chilled chiles straight into hot dishes, or warm them gently in a skillet over low heat with a splash of water until heated through.
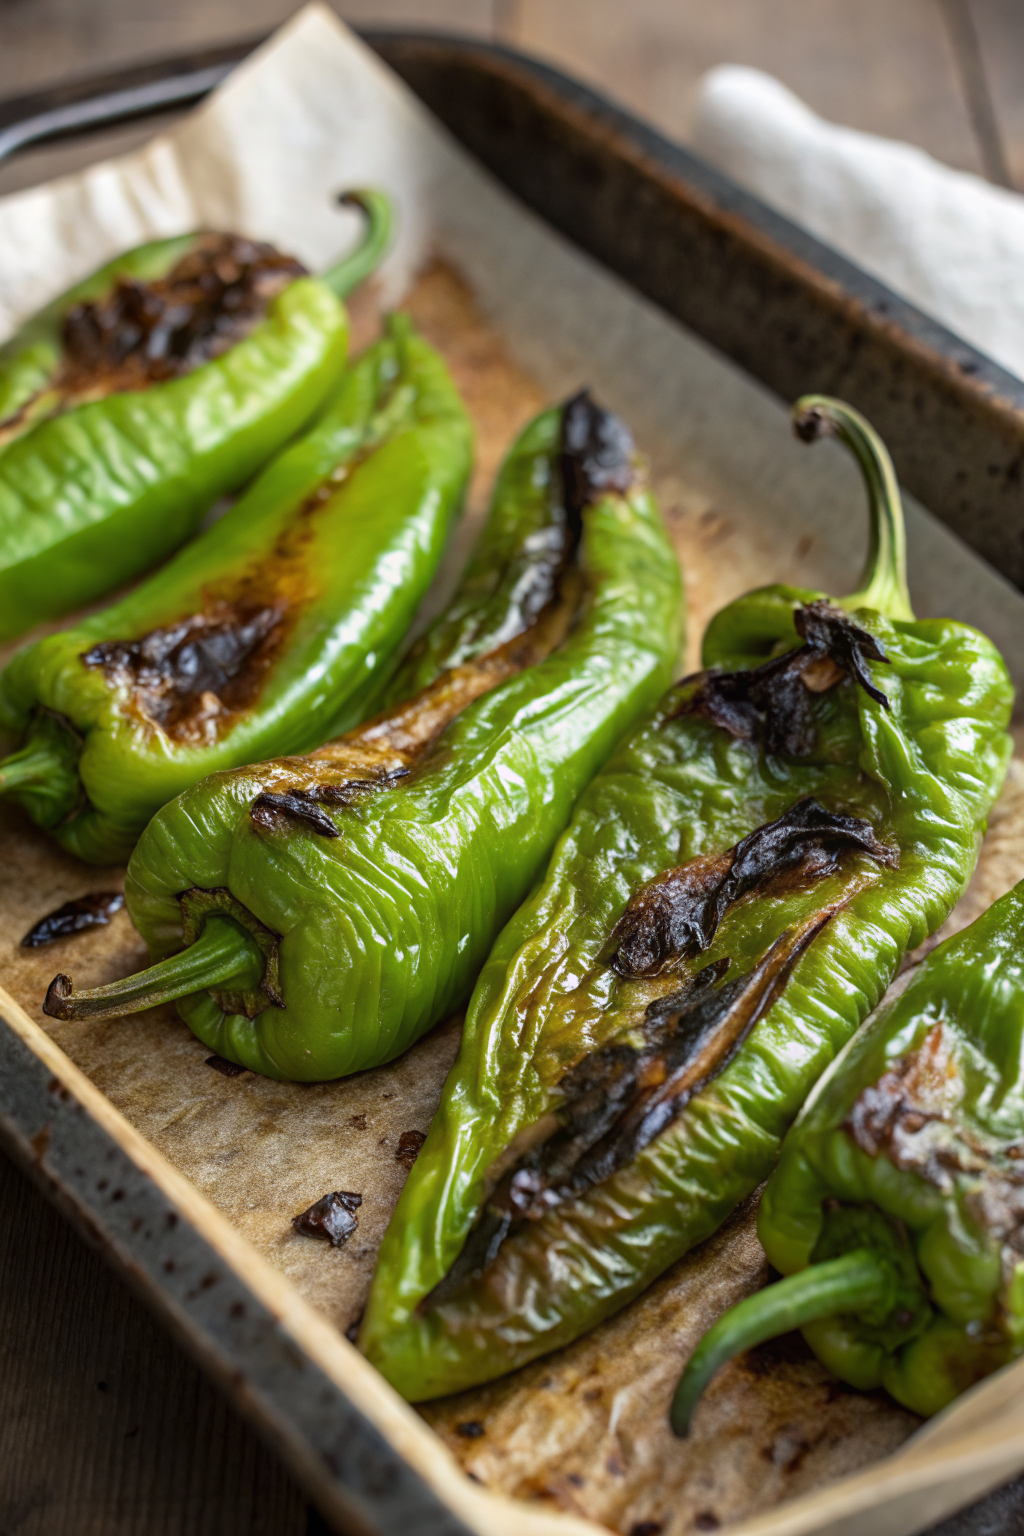
How to Roast Hatch Chile in the Oven
Ingredients
Instructions
- Preheat the oven to broil on high and move an oven rack to the upper third of the oven. Line a large rimmed baking sheet with foil. Place a wire rack on top if you are using one.
- Rinse the Hatch chiles and dry them very well with a clean towel. Keep the chiles whole with stems attached. If desired, rub them lightly with the neutral oil so the skins blister evenly.
- Arrange the chiles in a single layer on the prepared baking sheet or on the rack, leaving a little space between each chile so hot air can circulate.
- Place the baking sheet on the top rack under the broiler. Roast for 4 to 6 minutes, until the tops of the chiles are blistered and blackened in spots. Watch closely so they do not burn completely.
- Using tongs, turn each chile a quarter turn and continue broiling for another 3 to 5 minutes. Repeat turning and roasting until most of the skin on each chile is blistered and charred on all sides, about 10 to 15 minutes total.
- Transfer the hot roasted chiles to a large bowl. Cover the bowl tightly with plastic wrap or a lid so the chiles can steam. Let them rest for 10 to 15 minutes to loosen the skins.
- Uncover the bowl. When the chiles are warm but not too hot to handle, gently peel off the skins with your fingers or scrape them away with the back of a knife. Leave some charred bits if you like a stronger smoky flavor.
- Place the peeled chiles on a cutting board. Split each chile lengthwise, open it flat like a book, and scrape out the seeds and white ribs with a small spoon if you prefer a milder heat level.
- Pat the roasted chile flesh dry with a paper towel if it looks very wet, especially if you plan to chop and sauté it later. Taste a small piece and season with kosher salt.
- If desired, toss the chopped or sliced roasted chiles with lime juice, garlic powder, ground cumin, and smoked paprika for extra flavor. Use immediately in eggs, tacos, quesadillas, burgers, soups, or sauces, or cool completely and freeze for later use.
Notes
Approximate per serving (about 1/3 pound raw chiles before roasting, seasonings optional): 45 calories; fat 1.5 g; saturated fat 0 g; carbohydrates 8 g; fiber 2 g; sugars 5 g; protein 2 g; sodium 120 mg (with a light sprinkle of salt). Values will vary based on chile size, oil amount, salt level, and any added seasonings.
Leave a Reply