
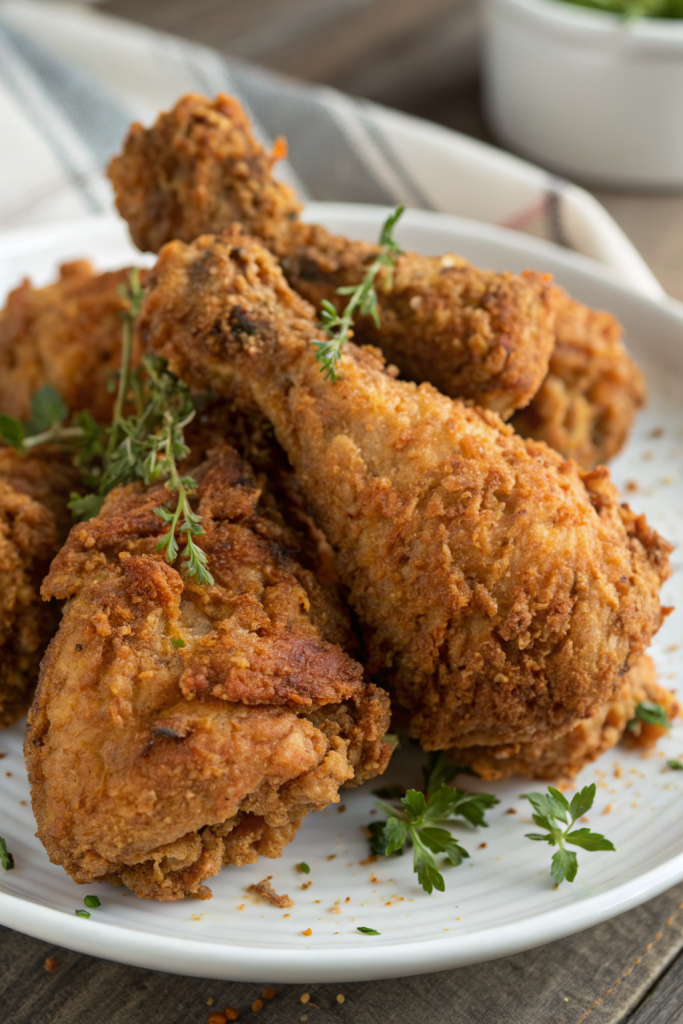
Buttermilk Fried Chicken Recipe tastes ultra crispy on the outside, juicy on the inside, and perfectly seasoned with a little tang from the buttermilk. It works for busy home cooks who want a crowd-pleasing dinner in about 45 to 60 minutes of active time, plus marinating. I grew up in the Midwest and still judge every road trip by whether the fried chicken beats this recipe.
Why Buttermilk Fried Chicken Recipe Is Worth It
Buttermilk tenderizes the chicken and adds a subtle tang that balances the salty, savory crust. The flour coating clings beautifully to the buttermilk, so you get those craggy, crunchy bits that everyone fights over.
You control the seasoning, the oil quality, and the cook time, so the chicken turns out juicy instead of dry. Leftovers taste amazing cold from the fridge, which I say from very personal and slightly sneaky experience.
This Buttermilk Fried Chicken Recipe hits that perfect combo of shatteringly crisp crust and juicy, flavorful meat every single time ★★★★★
Ingredients You Need
Chicken
- 3 to 4 pounds chicken pieces
- Mix of drumsticks, thighs, and bone in breasts
- Use all thighs if you want extra juicy results
- Pat the chicken very dry with paper towels before marinating
Buttermilk Marinade
- 2 cups buttermilk
- Use full fat if possible for richer flavor
- If you only have low fat, add 1 tablespoon neutral oil to the marinade
- 2 large eggs
- 2 teaspoons kosher salt
- 1 teaspoon black pepper
- 1 to 2 teaspoons hot sauce
- Any brand you like, such as Crystal or Frank’s
- 1 teaspoon garlic powder
- 1 teaspoon onion powder
- 1 teaspoon smoked paprika or sweet paprika
Seasoned Flour Coating
- 2 ½ cups all purpose flour
- Use a good quality unbleached flour for best texture
- ½ cup cornstarch
- Helps the crust turn extra crisp
- 2 teaspoons kosher salt
- 1 ½ teaspoons black pepper
- 2 teaspoons paprika
- 1 teaspoon garlic powder
- 1 teaspoon onion powder
- 1 teaspoon dried thyme or Italian seasoning
- ½ teaspoon cayenne pepper
- Adjust to taste or skip for mild heat
Oil For Frying
- 6 to 8 cups neutral oil with high smoke point
- Peanut oil tastes classic and fries very clean
- Canola or vegetable oil work well and cost less
- Optional: small piece of potato or bread to test oil temperature
Equipment List
- Large mixing bowl or zip top bag for marinating
- Whisk
- Shallow dish or baking pan for dredging flour
- Heavy Dutch oven or deep, wide pot
- Deep fry thermometer or instant read thermometer
- Wire rack set over a sheet pan
- Tongs
- Paper towels
Quick Tips & substitutions
- Use bone in, skin on chicken for the juiciest Buttermilk Fried Chicken Recipe.
- Pat chicken dry before marinating so the buttermilk sticks better.
- Marinate at least 4 hours, but overnight gives deeper flavor and tenderness.
- No buttermilk on hand: mix 2 cups milk with 2 tablespoons lemon juice or vinegar, rest 10 minutes.
- Gluten free option: swap flour with a 1 to 1 gluten free blend and keep the cornstarch.
- Heat sensitive family: skip cayenne and hot sauce, then serve hot sauce on the side.
- Use a thermometer and keep oil near 325 to 350°F for even browning.
- Fry in batches and avoid crowding so the oil temperature stays stable.
- Let fried chicken rest on a wire rack, not paper towels, to keep the crust crisp.
- Season the crust lightly with salt right after it comes out of the oil.
How to Make Buttermilk Fried Chicken Recipe
Mix the Buttermilk Marinade
In a large bowl, whisk together buttermilk, eggs, salt, pepper, hot sauce, garlic powder, onion powder, and paprika. Whisk until the mixture looks smooth and the eggs fully blend in. Taste a tiny drop and adjust salt or spice if needed.
Marinate the Chicken
Add the chicken pieces to the bowl and coat every piece thoroughly. Press the chicken down so the buttermilk covers it as much as possible. Cover the bowl or seal the bag and chill at least 4 hours, up to 24 hours.
Halfway through marinating, give the bowl a little shake or stir so every piece soaks evenly. When you feel ready to fry, pull the chicken from the fridge and let it sit at room temperature for about 20 to 30 minutes. This step helps the chicken cook more evenly.
Prepare the Seasoned Flour
In a shallow dish or baking pan, combine flour, cornstarch, salt, black pepper, paprika, garlic powder, onion powder, thyme, and cayenne. Stir well so the spices distribute evenly through the flour. Taste a pinch of the dry mix so you know the seasoning level before you coat the chicken.
If you want extra craggy bits, drizzle 2 to 3 tablespoons of the buttermilk marinade into the flour. Toss with a fork until little clumps form. Those clumps turn into crunchy ridges on the fried chicken.
Dredge the Chicken
Lift one piece of chicken from the marinade and let the excess drip off. Place it in the seasoned flour and press the flour firmly onto every surface. Make sure you coat under the skin folds and around the bones.
Set the coated piece on a wire rack while you dredge the rest. This short rest lets the flour hydrate a bit and cling better. Repeat with all chicken pieces, then let them sit 10 to 15 minutes while you heat the oil.
Heat the Oil Safely
Pour oil into a heavy pot so it reaches about halfway up the sides. Clip on a thermometer and heat over medium to medium high heat until it reaches 325 to 350°F. If you do not have a thermometer, drop in a small pinch of flour mixture; it should sizzle steadily, not explode with bubbles or sink quietly.
Adjust the heat as needed to keep the temperature in that range. Keep kids and pets out of the kitchen while you fry, and keep pot handles turned inward. Set your clean wire rack over a sheet pan near the stove so you can transfer chicken easily.
Fry the Chicken in Batches
Use tongs to gently lower a few pieces of chicken into the hot oil, skin side down. Leave space between pieces so they do not touch. The oil temperature will drop a bit, so adjust the heat to keep it near 325°F.
Cook dark meat pieces about 12 to 15 minutes and white meat about 10 to 12 minutes, turning occasionally. Watch the color and aim for deep golden brown on all sides. If the chicken browns too fast, lower the heat slightly.
Check Doneness
Use an instant read thermometer and check the thickest part of each piece, without touching the bone. Dark meat should reach at least 175°F for tender, juicy results, and white meat should reach at least 165°F. If a piece looks brown but reads low, move it to a cooler spot in the oil or lower the heat and give it a few more minutes.
Pull finished pieces out of the oil and place them on the wire rack. Sprinkle lightly with salt while the crust still sizzles. Let them rest at least 10 minutes before you bite in so the juices settle.
Finish the Batches
Let the oil return to temperature before you add the next batch. Repeat the frying, checking, and resting steps until you cook all the chicken. Skim any loose bits from the oil between batches so they do not burn and turn the oil bitter.
When you finish frying, turn off the heat and let the oil cool completely before you strain and store or discard it. Serve your Buttermilk Fried Chicken Recipe hot, warm, or even room temperature. Every temperature hits a different comfort food mood.
Recipe Variations
- Gluten free: use a gluten free all purpose flour blend plus cornstarch in the same amounts.
- Extra spicy: double the cayenne, add more hot sauce to the buttermilk, and sprinkle with chili powder after frying.
- Mild and kid friendly: skip cayenne and hot sauce, and add a little extra paprika for color.
- Herb loaded: add chopped fresh thyme, parsley, and chives to the flour mixture right before dredging.
- Low carb style: coat chicken in a mix of fine almond flour and grated parmesan, then air fry or shallow fry.
- Dairy free: marinate in unsweetened plant milk mixed with 2 tablespoons lemon juice and 2 tablespoons vegan yogurt.
Ways to Serve Buttermilk Fried Chicken Recipe
- Pile on a plate with mashed potatoes and coleslaw.
- Serve with warm biscuits and honey or hot honey.
- Slice leftovers over a crisp green salad with ranch dressing.
- Tuck into a toasted brioche bun with pickles and shredded lettuce.
- Pair with mac and cheese and steamed green beans.
- Pack cold pieces in a picnic basket with fruit and potato salad.
Storage Success
Let the Buttermilk Fried Chicken Recipe cool to room temperature on a wire rack, then store leftovers in an airtight container in the fridge for up to 3 to 4 days. Reheat in a 375°F oven or air fryer until the crust crisps again and the inside warms through. Avoid microwaving if you care about crunch, since it softens the coating quickly. If you freeze leftovers, wrap each piece tightly, store up to 2 months, and reheat from frozen in a hot oven until sizzling and heated through.
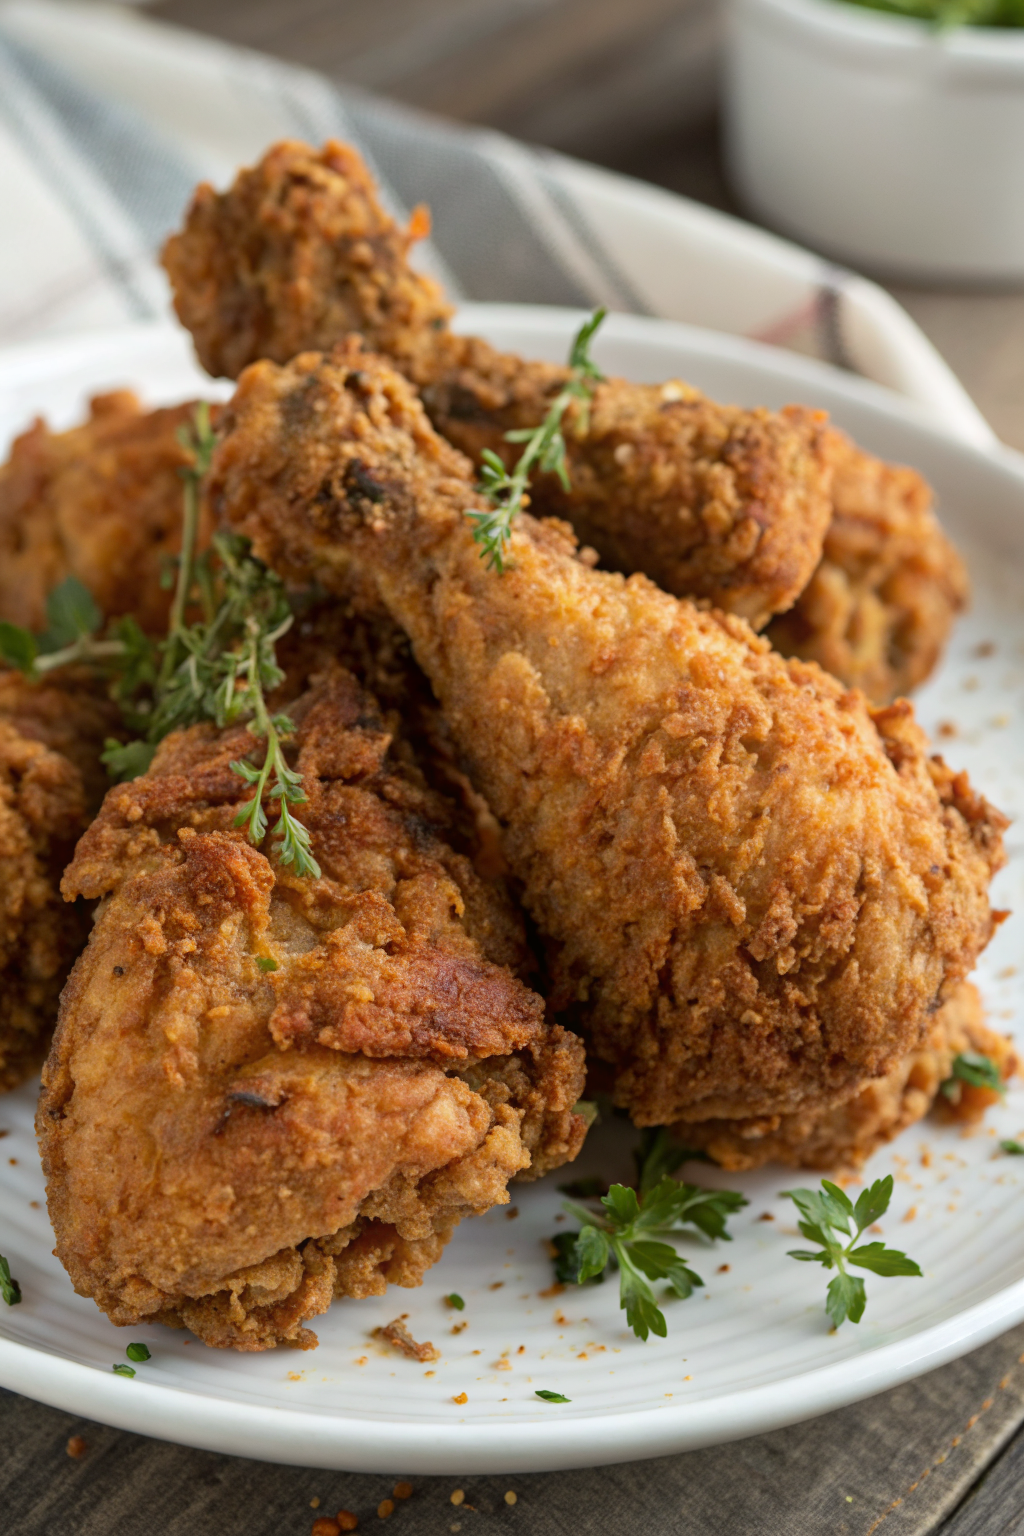
Buttermilk Fried Chicken Recipe
Ingredients
Instructions
- Pat the chicken pieces very dry with paper towels and set aside.
- In a large bowl, whisk together the buttermilk, eggs, kosher salt, black pepper, hot sauce (if using), garlic powder, onion powder, and paprika until smooth and fully combined.
- Add the chicken pieces to the bowl and turn to coat thoroughly in the buttermilk mixture. Press the chicken down so it is mostly submerged.
- Cover the bowl or seal everything in a large zip-top bag and refrigerate for at least 4 hours, or up to 24 hours, stirring or shaking once halfway through so every piece marinates evenly.
- About 20–30 minutes before frying, remove the chicken from the refrigerator so it can lose some of its chill and cook more evenly.
- In a wide shallow dish or baking pan, combine the flour, cornstarch, kosher salt, black pepper, paprika, garlic powder, onion powder, dried thyme or Italian seasoning, and cayenne pepper (if using). Stir well so the spices are evenly distributed.
- For extra craggy, crunchy bits, drizzle 2–3 tablespoons of the buttermilk marinade into the flour mixture and toss with a fork until small clumps form.
- Lift one piece of chicken from the marinade, letting the excess drip back into the bowl.
- Place the chicken in the seasoned flour and press the flour firmly onto every surface, getting under the skin folds and around the bones.
- Transfer the coated piece to a wire rack. Repeat with the remaining chicken pieces, then let the coated chicken rest on the rack for 10–15 minutes so the coating adheres well.
- Pour oil into a heavy Dutch oven or deep, wide pot until it reaches about halfway up the sides. Attach a thermometer if you have one.
- Heat the oil over medium to medium-high heat until it reaches 325–350°F (165–175°C). Adjust the heat as needed to maintain this range.
- Using tongs, carefully lower a few pieces of chicken into the hot oil, skin side down, making sure not to crowd the pot.
- Fry dark meat pieces (thighs and drumsticks) for about 12–15 minutes and white meat (breasts) for about 10–12 minutes, turning occasionally, until deep golden brown and crisp.
- Check the internal temperature with an instant-read thermometer. Dark meat should reach at least 175°F (79°C) and white meat at least 165°F (74°C). If a piece browns too quickly but is not done inside, lower the heat slightly and cook a bit longer.
- Transfer cooked chicken to a clean wire rack set over a baking sheet and sprinkle lightly with salt while the crust is still hot.
- Let the chicken rest for at least 10 minutes before serving so the juices can settle. Fry remaining batches, allowing the oil to return to temperature between batches and skimming out any loose bits as needed.
Notes
Approximate per serving (about 2 pieces, based on 12 servings from 3–4 pounds of chicken): 480 calories; fat 32 g; saturated fat 7 g; carbohydrates 18 g; fiber 1 g; sugars 3 g; protein 31 g; sodium 980 mg. Values will vary based on exact chicken pieces, oil absorption, flour left in the bowl, and serving size.
Leave a Reply