

Homemade Udon Noodles Recipe tastes bouncy, chewy, and deeply comforting, perfect for anyone who loves slurpy bowls of noodles and has about 1 hour of hands-on time plus resting. This recipe suits home cooks who enjoy simple ingredients, a bit of kneading therapy, and restaurant-level results in their own kitchen. I still remember the first time I nailed that perfect udon chew and did a tiny victory dance in my socks on the tile floor.
Why Homemade Udon Noodles Recipe Is Worth It
Fresh udon noodles beat dried or frozen every single time, especially in texture. You control the thickness, salt level, and chew, so the noodles match your favorite style. The ingredient list stays short, budget-friendly, and pantry-friendly, which makes this a very repeatable recipe.
You also gain a base recipe that works in soups, stir-fries, and cold noodle salads. Once you learn the dough feel, you can scale it up easily for meal prep or dinner parties. The process feels simple and meditative, and the payoff tastes huge.
“These homemade udon noodles taste like a cozy noodle shop at home, with that perfect chewy slurp I never found in store-bought packs. ★★★★★”
Ingredients You Need
For the udon dough:
- 3 cups (360 g) all-purpose flour (unbleached works best; King Arthur or Gold Medal both perform well)
- 2 tablespoons potato starch or cornstarch (for dusting and extra silkiness)
- 1 tablespoon kosher salt (use less if you use table salt, which tastes saltier)
- 1 cup (240 ml) water, room temperature, plus 1–2 tablespoons more as needed
Optional flavor tweaks (keep it classic or add a twist):
- 1 teaspoon neutral oil (canola, grapeseed, or avocado) for slightly softer dough
- 1 teaspoon light soy sauce in the water for a subtle savory note
- ½ teaspoon baking soda for a slightly springier bite (mimics alkaline-style chew)
Pantry shortcuts and notes:
- Use bread flour instead of all-purpose if you want extra chew; mix 50/50 with all-purpose for balance.
- Use pre-sifted flour if you want easier mixing and a smoother dough.
- Use cornstarch instead of potato starch if that’s what you already keep in your pantry.
Simple broth or sauce ideas to pair with the noodles:
- Low-sodium dashi or vegetable broth
- Soy sauce, mirin, and a pinch of sugar for a quick soup base
- Sesame oil, soy sauce, and chili crisp for a fast stir-fry sauce
Toppings and mix-ins (optional but tasty):
- Sliced green onions
- Soft-boiled eggs
- Sautéed mushrooms
- Blanched spinach or bok choy
- Shredded chicken, tofu cubes, or shrimp
Equipment list:
- Large mixing bowl
- Kitchen scale (helps with accuracy, but measuring cups work too)
- Measuring spoons and liquid measuring cup
- Clean plastic bag or plastic wrap
- Rolling pin (or a wine bottle in a pinch)
- Large cutting board or clean countertop
- Sharp chef’s knife or pizza cutter
- Large pot for boiling noodles
- Colander or mesh strainer
Quick Tips & substitutions
- Use bread flour for extra chew, or stick to all-purpose flour for a softer bite.
- Sprinkle potato starch or cornstarch generously so the noodles do not stick together.
- Rest the dough at least 30 minutes so the gluten relaxes and rolls out more easily.
- Knead the dough with your hands, or seal it in a bag and knead it with your feet if you want the classic method and a mini workout.
- Swap soy sauce with tamari or coconut aminos if you avoid regular soy.
- Use gluten-free all-purpose blend with xanthan gum for a gluten-free version, and roll gently since that dough tears more easily.
- Cook noodles in plenty of boiling water and stir often so they do not clump.
- Rinse cooked noodles under cold water to stop cooking and keep that bouncy texture.
How to Make Homemade Udon Noodles Recipe
Step 1: Mix the dough
Add flour to a large mixing bowl and stir in the salt. Pour in about three-quarters of the water while you stir with chopsticks or a fork. Add more water a tablespoon at a time until the flour clumps into shaggy pieces. Stop adding water when the dough holds together but still feels firm and not sticky.
Turn the dough onto a clean work surface. Press the dough together with your hands and form a rough ball. Scrape any loose flour into the ball and squeeze it in. Aim for a firm, slightly stiff dough that still yields when you press it.
Step 2: Knead until smooth
Knead the dough by pushing it away with the heel of your hand, then folding it back over itself. Rotate the dough and repeat this motion for about 8–10 minutes. The dough will start rough and lumpy, then turn smoother and more elastic.
If the dough cracks a lot, wet your fingers lightly and work that moisture into the dough. If it sticks to your hands, dust with a tiny bit of flour and keep kneading. Shape the dough into a smooth ball once it feels tight and springy.
Step 3: Rest the dough
Place the dough ball in a clean plastic bag or wrap it tightly in plastic wrap. Let it rest at room temperature for at least 30 minutes and up to 2 hours. This rest period relaxes the gluten and makes rolling much easier.
If your kitchen runs very warm, chill the dough in the fridge after the first 30 minutes. Bring it back toward room temperature before rolling so it does not fight you. Use this resting time to prep broth, toppings, or stir-fry ingredients.
Step 4: Roll the dough
Unwrap the dough and dust your work surface with potato starch or cornstarch. Flatten the dough into a thick disk with your hands. Roll it out with a rolling pin from the center outward, rotating the dough often so it stays roughly square or rectangular.
Aim for about ⅛–¼ inch (3–6 mm) thickness, depending on how thick you like your udon. Thicker noodles feel extra chewy and rustic, thinner noodles cook faster and feel more delicate. Dust the top of the dough sheet with starch so it does not stick when you fold it.
Step 5: Fold and cut the noodles
Fold the dough sheet into thirds like a letter, dusting with starch between layers. Use a sharp knife or pizza cutter to slice the folded dough into strips about ¼ inch wide. Adjust the width to your preference; wider strips give you extra chew, thinner strips give you a lighter slurp.
Unfold the strips gently and toss them with more starch so they stay separate. Shake off excess starch before cooking. Coil the noodles loosely into nests on a tray while you heat the water.
Step 6: Boil the udon noodles
Bring a large pot of water to a strong boil and salt it lightly. Add the noodles and stir right away to separate them. Boil 8–12 minutes, depending on thickness, until the noodles taste chewy but cooked through.
Taste a noodle every couple of minutes near the end so you hit your ideal texture. Scoop out a noodle, rinse it quickly under cold water, and bite into it. When the center no longer tastes floury but still feels bouncy, you nailed it.
Step 7: Rinse and cool
Drain the noodles in a colander and rinse them under cold running water. Rub the noodles gently with your fingers while you rinse to remove extra starch. This step keeps the noodles from turning gummy and helps them keep that signature udon chew.
Leave the noodles slightly warm for soup, or chill them fully for cold dishes. Toss them with a tiny drizzle of neutral oil if you plan to hold them for more than 10 minutes before serving. That light coating keeps them from sticking together.
Step 8: Quick broth or stir-fry option
Heat dashi or vegetable broth in a pot with soy sauce, a splash of mirin, and a pinch of sugar. Add sliced green onions and mushrooms, then simmer a few minutes. Drop the cooked udon noodles into the hot broth and warm them through.
For a stir-fry, heat a wok or large skillet, add a bit of oil, and toss in sliced veggies and protein of your choice. Add cooked udon noodles, then pour in a simple mix of soy sauce, sesame oil, and a spoon of chili crisp or garlic. Stir-fry just until everything coats and heats through, then serve right away.
Recipe Variations
- Gluten-free: Use a gluten-free all-purpose blend with xanthan gum and handle the dough gently since it tears more easily.
- Vegan: Use plant-based broth and toppings like tofu, mushrooms, and greens; the noodles already stay vegan.
- Low carb-ish: Serve a smaller portion of noodles over a big pile of sautéed vegetables to stretch the bowl.
- Extra chewy: Use 50–70% bread flour in place of all-purpose flour and knead a few extra minutes.
- Spicy: Toss cooked noodles with chili oil, chili crisp, or gochujang sauce.
- Garlic lover: Add minced garlic and green onions to hot oil, then toss in cooked udon and a splash of soy sauce.
Ways to Serve Homemade Udon Noodles Recipe
- In hot broth with green onions, mushrooms, and a soft-boiled egg.
- Stir-fried with veggies, tofu, and a soy-sesame sauce.
- Chilled with a dipping sauce of soy sauce, mirin, and grated ginger.
- In a quick miso soup with seaweed, tofu cubes, and spinach.
- With a peanut or sesame sauce, cucumbers, and shredded carrots for a cold noodle salad.
Storage Success
Store cooked udon noodles in an airtight container in the fridge for up to 3 days. Toss them with a teaspoon of neutral oil before chilling so they do not clump into one giant noodle. Reheat them briefly in hot broth or a quick stir-fry, or rinse them with hot water to loosen them before serving cold. Freeze uncooked, cut noodles on a tray, then move them to a freezer bag and cook them straight from frozen with just an extra minute or two in boiling water.
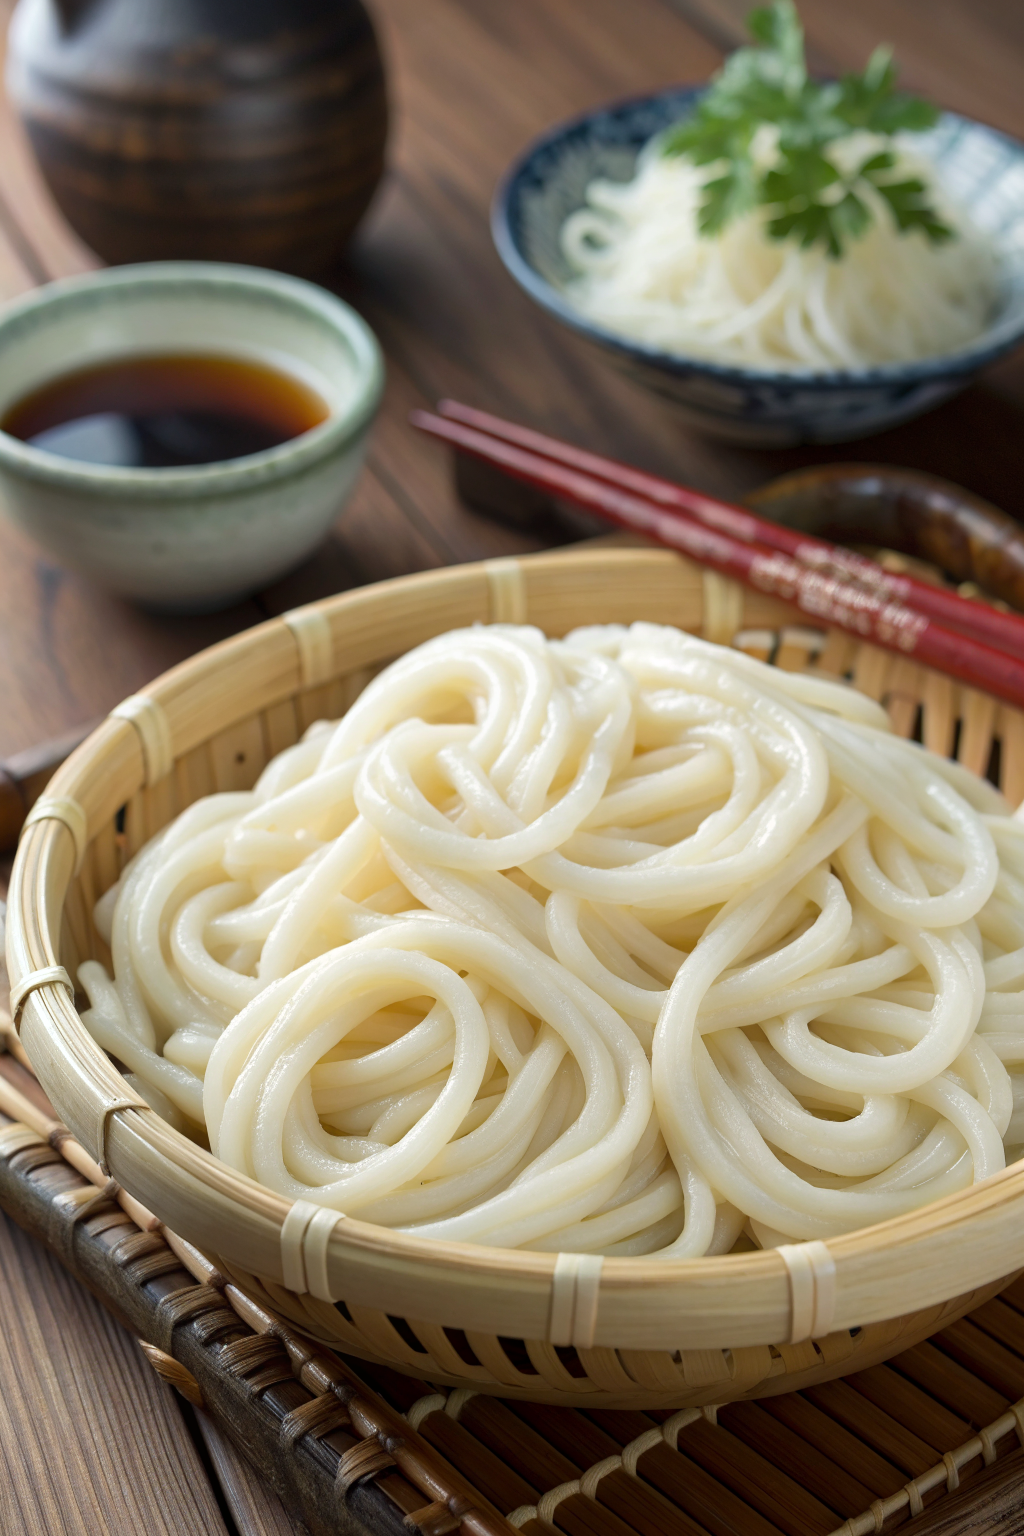
Homemade Udon Noodles Recipe
Ingredients
Instructions
- In a large mixing bowl, combine the flour and kosher salt. Pour in about three-quarters of the water while stirring with chopsticks or a fork.
- Add more water 1 tablespoon at a time, stirring, until the flour clumps into shaggy pieces and the dough holds together but feels firm and not sticky.
- Turn the dough onto a clean work surface and press it together into a rough ball, incorporating any loose flour. Aim for a firm, slightly stiff dough that still yields when pressed.
- Knead the dough by pushing it away with the heel of your hand, then folding it back over itself. Rotate and repeat for about 8–10 minutes, until the dough becomes smoother and more elastic.
- If the dough cracks a lot, lightly wet your fingers and work the moisture into the dough. If it sticks to your hands, dust with a little flour. Shape into a smooth, tight, springy ball.
- Place the dough ball in a clean plastic bag or wrap tightly in plastic wrap. Let it rest at room temperature for at least 30 minutes and up to 2 hours to relax the gluten.
- Unwrap the rested dough and dust your work surface with potato starch or cornstarch. Flatten the dough into a thick disk with your hands.
- Roll the dough from the center outward with a rolling pin, rotating often to keep it roughly square or rectangular. Roll to about 1/8–1/4 inch (3–6 mm) thickness, depending on how thick you like your udon.
- Dust the top of the dough sheet with starch so it does not stick, then fold the sheet into thirds like a letter, dusting with starch between layers.
- Using a sharp knife or pizza cutter, slice the folded dough into strips about 1/4 inch wide, or to your preferred width.
- Unfold the noodle strips gently and toss them with more starch so they stay separate. Shake off excess starch and coil the noodles loosely into nests on a tray.
- Bring a large pot of water to a strong boil and salt it lightly. Add the noodles and stir right away to separate them.
- Boil for 8–12 minutes, depending on thickness, until the noodles are chewy but cooked through. Taste a noodle near the end; when the center no longer tastes floury but still feels bouncy, they are done.
- Drain the noodles in a colander and rinse under cold running water, gently rubbing with your fingers to remove excess starch and stop the cooking.
- Serve the noodles slightly warm in hot broth or fully chilled for cold dishes. If holding for more than 10 minutes, toss with a tiny drizzle of neutral oil to prevent sticking.
Notes
Approximate per serving (about one-quarter of the batch, noodles only): 350 calories; fat 1 g; saturated fat 0 g; carbohydrates 74 g; fiber 3 g; sugars 0 g; protein 10 g; sodium 1180 mg (from dough salt; serving in unsalted broth will dilute). Values will vary based on flour brand, optional add-ins, and portion size.