
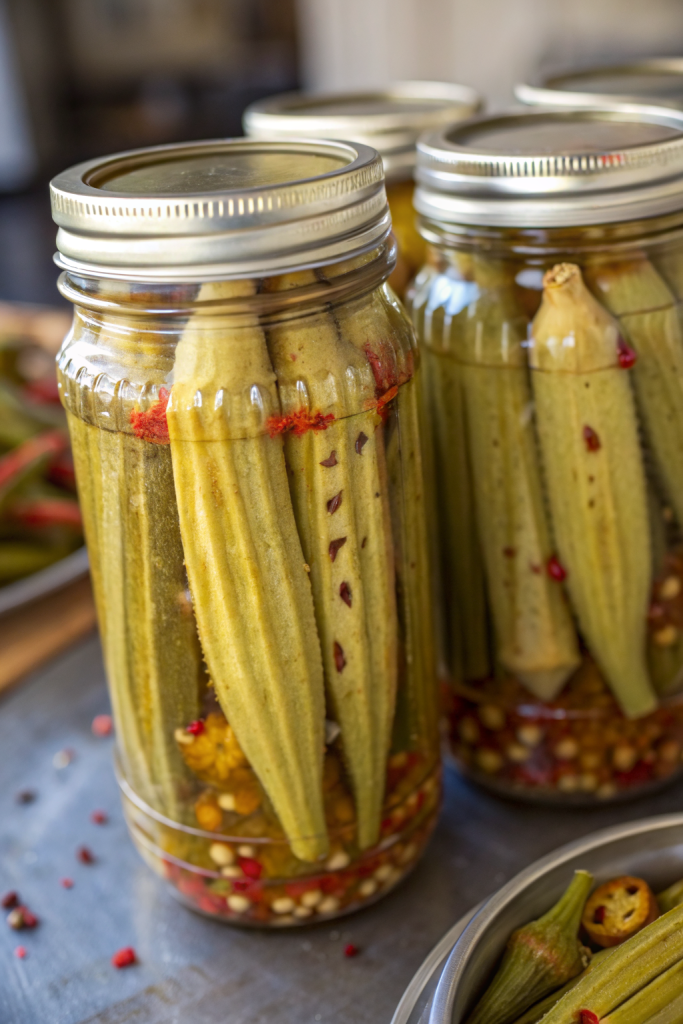
How to Pickle Okra tastes tangy, garlicky, a little spicy, and keeps that perfect crunchy snap that makes your jaw happy. It works for busy home cooks who want a quick small-batch pickle in under 30 minutes of active time, plus a short wait before eating. I grew up in the South and still eat pickled okra straight from the jar over the sink like a gremlin, so you are in good company here.
Why You Should Try This Pickle Okra
Pickled okra tastes bright, salty, and slightly sour, with a gentle heat and a firm bite. The brine tames the okra slime, so even okra skeptics usually come back for a second spear.
You can use this How to Pickle Okra recipe for snack boards, burgers, tacos, and quick sides. It also works as a smart way to save a big farmers’ market haul before it goes limp in the crisper.
“This Pickle Okra recipe turned my okra-hating family into jar-raiding snack monsters. ★★★★★”
Ingredients You’ll Need
Fresh produce
- 1 ½ pounds small fresh okra pods
- Choose pods about 2 to 4 inches long, bright green, and firm.
- Avoid big, woody pods because they turn tough in the brine.
- 6 garlic cloves, peeled and lightly smashed
- 2 small fresh hot peppers, sliced (jalapeño, serrano, or Fresno)
- Use 1 pepper for mild heat or 3 for a bigger kick.
- 1 small yellow onion, sliced into thin half moons (optional, but tasty bonus pickle)
- 4 fresh dill sprigs or 2 teaspoons dried dill weed
Brine
- 2 cups distilled white vinegar (5% acidity)
- You can swap half with apple cider vinegar for a softer flavor.
- 2 cups water
- 3 tablespoons kosher salt (use canning or pickling salt if you have it)
- Avoid iodized table salt because it can cloud the brine.
- 2 tablespoons sugar
- This does not make sweet pickles; it just balances the sharpness.
Spices
- 2 teaspoons mustard seeds
- 2 teaspoons black peppercorns
- 2 teaspoons coriander seeds (optional but adds citrusy notes)
- 1 teaspoon celery seeds
- 2 bay leaves, broken in half
Equipment
- 3 to 4 pint-size glass jars with lids
- Use canning jars if you want to process them in a water bath.
- Small saucepan for the brine
- Large bowl for rinsing and sorting okra
- Tongs or clean chopsticks for packing jars
- Funnel (helps keep jar rims clean, but you can manage without it)
- Clean towel and paper towels
Tips & Tricks
- Pick small, young okra pods so you get tender, crunchy pickles.
- Rinse okra gently and pat it very dry to keep extra moisture out of the brine.
- Pack the jars tightly with okra standing upright so they do not float.
- Tuck garlic and peppers along the sides of the jar so they season the whole batch.
- Heat the brine until the salt and sugar dissolve and the liquid steams, then pour while hot.
- Leave a little headspace at the top of the jar so the brine covers everything without overflowing.
- Let the jars cool to room temperature before chilling so the glass does not crack.
- Chill at least 24 hours before eating so the flavors settle and the okra absorbs the brine.
- Use clean utensils every time you pull okra from the jar so it stays fresh longer.
- Adjust heat with more or fewer peppers, or add red pepper flakes if you run out of fresh chiles.
How to Pickle Okra
Step 1: Prep the okra and jars
Rinse the okra under cool water and trim only the stem tips if they look dry or brown. Keep the caps intact so the pods stay sealed and hold their texture in the brine. Lay the okra on a clean towel and pat it dry very well.
Wash your jars and lids in hot, soapy water, then rinse and dry them. If you plan to store the pickled okra in the fridge only, this step works fine. If you want shelf-stable jars, sterilize them in simmering water and follow safe canning guidelines from a trusted source.
Step 2: Pack the jars
Stand the okra pods upright in the jars with the pointed ends facing up. Pack them snugly so they support each other but do not crush. Slide garlic cloves, hot pepper slices, and onion slices (if using) down the sides of the jar.
Divide the dill, mustard seeds, peppercorns, coriander seeds, celery seeds, and bay leaf pieces among the jars. Shake the jars gently so the spices spread around the okra. Set the packed jars aside while you prepare the brine.
Step 3: Make the brine
Pour the vinegar, water, salt, and sugar into a small saucepan. Set the pan over medium heat and stir until the salt and sugar dissolve. Let the brine heat until it steams and tiny bubbles form around the edges, then turn off the heat.
Taste a spoonful of brine once it cools slightly and adjust the flavor. Add a pinch more salt for a bolder pickle or a teaspoon more sugar if it tastes too sharp. Keep the brine hot but not boiling while you move to the next step.
Step 4: Fill the jars
Place the jars on a towel to protect your counter from heat. Use a ladle and funnel, if you have one, and pour the hot brine over the okra in each jar. Cover the okra completely and leave about ½ inch of space at the top.
Tap the jars gently on the counter to release air bubbles. Use a clean chopstick or butter knife to nudge between the pods and help any trapped air escape. Add a bit more brine if needed so the okra sits fully submerged.
Step 5: Seal and cool
Wipe the rims of the jars with a clean, damp towel so no salt or seeds sit on the edges. Place the lids on the jars and twist the bands until they feel fingertip tight. Set the jars on the towel and let them cool to room temperature.
You can process the jars in a boiling water bath at this point if you know safe canning methods and want pantry storage. If you skip canning, move the cooled jars straight to the fridge. Chill them at least 24 hours before you crack one open.
Step 6: Wait, then taste
Let the jars rest in the fridge for 1 to 3 days so the brine works its magic. Taste a pod after 24 hours and see how you like the flavor and texture. I usually enjoy the balance best around day 3, when the okra tastes punchy and the spices mellow slightly.
Once you like the flavor, keep snacking and using the pickled okra in recipes. The pods will soften slowly over time but stay pleasantly crisp for several weeks. If you reach the bottom of the jar, use the leftover brine in salad dressings or to marinate cucumbers.
What to Serve with Pickle Okra
Serve How to Pickle Okra next to fried chicken, grilled fish, or roasted veggies for a bright, crunchy contrast. Add it to snack boards with cheese, hummus, crackers, and fresh fruit for a fun Southern twist. Chop the pickled okra and toss it into tuna salad, potato salad, or egg salad to add tang and texture.
You can also tuck whole pods into sandwiches, wraps, and burgers instead of pickles. I like to slice them and sprinkle over rice bowls, grain salads, and tacos for a salty, sour pop. Keep a jar in the fridge and treat it like a flavor booster for quick weeknight meals.
Storage Options
- Store quick-pickled okra in the fridge for up to 3 to 4 weeks, fully submerged in brine.
- Keep the jars toward the back of the fridge where the temperature stays steady.
- If you water-bath can the jars using safe canning practices, you can store sealed jars in a cool, dark pantry for up to 1 year.
- Once you open a canned jar, move it to the fridge and use it within 3 to 4 weeks.
- Do not freeze pickled okra because freezing changes the texture and turns the pods mushy.
- Serve straight from the fridge; no reheating needed, just drain and eat or chop and stir into recipes.
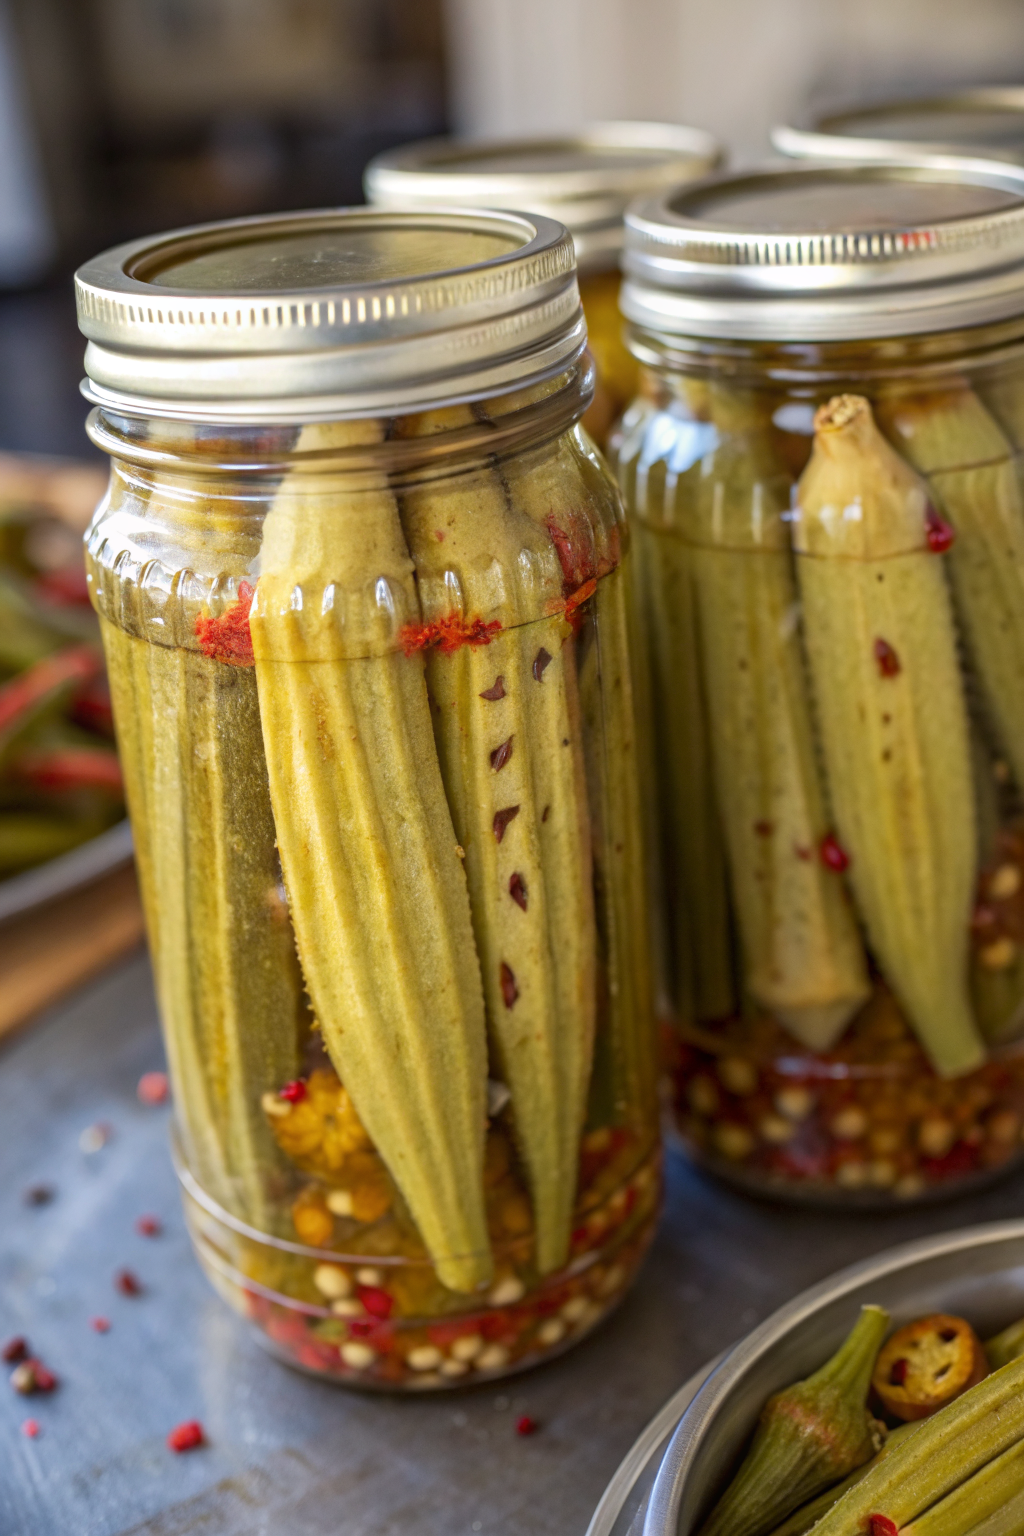
How to Pickle Okra
Ingredients
Instructions
- Rinse the okra under cool water and trim only the dry or brown stem tips, keeping the caps intact so the pods stay sealed. Lay the okra on a clean towel and pat very dry.
- Wash jars and lids in hot, soapy water, then rinse and dry well. If you plan to can for shelf storage, sterilize the jars and follow safe water-bath canning guidelines.
- Stand the okra pods upright in the jars with the pointed ends facing up, packing them snugly without crushing. Slide garlic cloves, hot pepper slices, and onion slices (if using) down the sides of the jars.
- Divide the dill, mustard seeds, black peppercorns, coriander seeds (if using), celery seeds, and bay leaf pieces evenly among the jars. Shake gently so the spices distribute around the okra.
- In a small saucepan, combine the vinegar, water, salt, and sugar. Set over medium heat and stir until the salt and sugar dissolve. Heat until the brine steams and tiny bubbles form around the edges, then turn off the heat.
- Let the brine cool slightly, then taste and adjust with a pinch more salt or a little more sugar if desired. Keep the brine hot but not boiling while you fill the jars.
- Place the packed jars on a towel. Using a ladle (and a funnel if you like), pour the hot brine over the okra, covering completely and leaving about 1/2 inch of headspace at the top.
- Tap the jars gently on the counter to release air bubbles, then slide a clean chopstick or butter knife between the pods to help any trapped air escape. Add more brine as needed so the okra stays fully submerged.
- Wipe jar rims with a clean, damp towel. Place lids on the jars and twist bands until fingertip tight. Let the jars cool to room temperature on the towel.
- Refrigerate the cooled jars for quick pickles, or process in a boiling water bath if you are canning for pantry storage. Chill at least 24 hours before opening for best flavor.
- Let the jars rest in the fridge 1 to 3 days so the flavors develop. Taste after 24 hours and continue chilling if you prefer a punchier, more mellowed pickle. Keep the okra stored in the brine and use within several weeks.
Notes
Approximate per serving (about 3–4 pods plus brine and aromatics), based on 12 servings: 25 calories; fat 0 g; saturated fat 0 g; carbohydrates 5 g; fiber 2 g; sugars 2 g; protein 1 g; sodium 430 mg. Values are estimates and will vary based on exact jar size, salt brand, and portion size.
Leave a Reply