
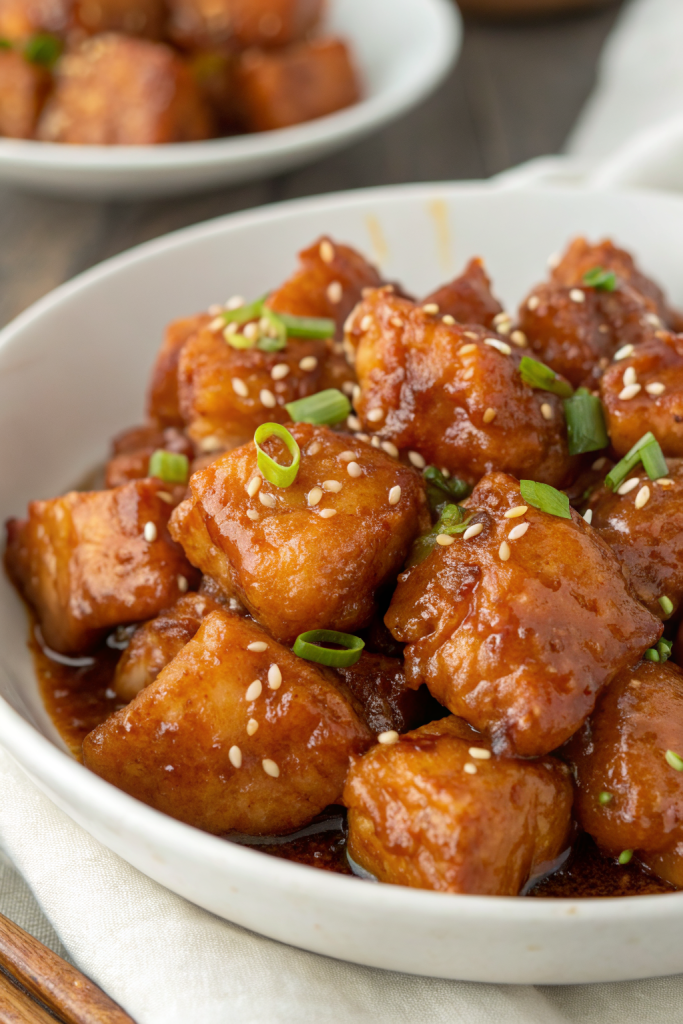
Oven-Baked Sweet and Sour Chicken Recipe tastes sticky, tangy, a little garlicky, and just crispy enough to feel like takeout without the deep fryer. It works for busy weeknights, picky eaters, and meal prep fans, and you can get it on the table in about 55–60 minutes total. I have cooked some version of this dish for over a decade, and my kids still cheer when they see the sheet pan come out of the oven.
Why You Should Try This Oven-Baked Sweet and Sour Chicken Recipe
This recipe gives you that classic takeout sweet and sour flavor with less oil and less mess. Baking the chicken in the oven keeps the coating light and crisp while the sauce thickens into a glossy, sticky glaze.
You control the sweetness, the tang, and the veggies, so it fits different tastes and diets. Cleanup stays easy, since everything roasts on a sheet pan instead of splattering on the stovetop.
“Tastes like my favorite takeout, but lighter and fresher, and the leftovers heat up perfectly the next day. ★★★★★”
Ingredients You’ll Need
Chicken
- 1 ½ pounds boneless skinless chicken breast or thighs, cut into 1-inch pieces
- Thighs stay juicier and more forgiving if you tend to overbake.
- 2 large eggs, beaten
- ½ cup cornstarch
- ½ teaspoon fine sea salt
- ½ teaspoon black pepper
- ½ teaspoon garlic powder
Sweet and sour sauce
- ½ cup ketchup
- Use a standard brand like Heinz or your usual pantry ketchup.
- ½ cup rice vinegar or apple cider vinegar
- Rice vinegar tastes a bit softer and more classic.
- ½ cup granulated sugar
- You can swap half for honey if you like.
- ¼ cup low sodium soy sauce or tamari
- ¼ cup pineapple juice
- Use the juice from canned pineapple chunks if you add them.
- 1 tablespoon cornstarch
- 1 tablespoon water
- 2 cloves garlic, minced
- 1 teaspoon grated fresh ginger or ½ teaspoon ground ginger
Vegetables and add-ins
- 1 red bell pepper, cut into 1-inch chunks
- 1 green bell pepper, cut into 1-inch chunks
- 1 small yellow onion, cut into 1-inch chunks
- 1 cup pineapple chunks, canned or fresh, drained
- 2 green onions, thinly sliced, for garnish
- 1 tablespoon toasted sesame seeds, optional
Pantry shortcuts and substitutions
- Use frozen stir fry vegetable mix if you want to skip chopping.
- Use bottled sweet and sour sauce in a pinch, then doctor it with extra vinegar, soy sauce, and garlic to taste.
- Swap chicken for tofu cubes or cauliflower florets for a vegetarian version and keep the same sauce.
Equipment list
- Large rimmed sheet pan or two smaller ones
- Parchment paper or a silicone baking mat
- Medium mixing bowl for chicken
- Small saucepan for sauce
- Whisk and tongs
- Measuring cups and spoons
Tips & Tricks
- Pat the chicken dry with paper towels so the cornstarch coating sticks well.
- Cut the chicken into even pieces so everything cooks at the same speed.
- Line the sheet pan with parchment so the glaze does not weld itself to the pan.
- Spread the chicken in a single layer with a little space between pieces so they crisp instead of steam.
- Toss the vegetables in a tiny bit of oil and salt so they roast nicely and do not dry out.
- Bake on a high rack in the oven to help the coating brown.
- Whisk the cornstarch slurry for the sauce right before you pour it in so it does not clump.
- Taste the sauce before you coat the chicken and adjust with more vinegar for tang or more sugar for sweetness.
- Stir the chicken halfway through baking so every side soaks in the sauce.
- Add the pineapple near the end so it warms and caramelizes slightly without turning mushy.
How to Make Oven-Baked Sweet and Sour Chicken Recipe
Step 1: Prep the oven and pan
Preheat your oven to 400°F. Line a large rimmed sheet pan with parchment paper or a silicone baking mat. Lightly spray or brush the lining with oil so the chicken releases easily.
Step 2: Coat the chicken
Add the chicken pieces to a mixing bowl and season them with salt, pepper, and garlic powder. Pour the beaten eggs over the chicken and toss until every piece looks coated. Sprinkle in the cornstarch and stir until the chicken pieces look evenly covered and slightly sticky.
Spread the coated chicken on the prepared sheet pan in a single layer. Leave a little space between each piece so hot air can move around them. Set the pan aside while you mix the sauce.
Step 3: Mix the sweet and sour sauce
In a small saucepan, whisk together ketchup, rice vinegar, sugar, soy sauce, and pineapple juice. Add the minced garlic and ginger. In a small cup, stir together 1 tablespoon cornstarch and 1 tablespoon water until smooth, then whisk that into the saucepan.
Place the saucepan over medium heat and bring the mixture to a gentle bubble while you whisk. Keep whisking until the sauce thickens and looks glossy, about 2 to 3 minutes. Turn off the heat and taste, then adjust the flavor with a little more vinegar or sugar if you want.
Step 4: Coat the chicken with sauce
Pour about two thirds of the hot sweet and sour sauce over the chicken on the sheet pan. Toss with tongs or a spatula until every piece looks coated. Keep the remaining sauce in the saucepan on the stove over very low heat or off the heat with a lid.
Step 5: Start baking the chicken
Place the sheet pan on the upper rack of the oven. Bake the chicken for 10 minutes. Pull the pan out, toss the chicken pieces, and spoon some of the sauce from the pan over any dry spots.
Step 6: Add vegetables
Add the bell peppers and onion to a bowl and drizzle with a teaspoon or two of oil and a pinch of salt. Scatter the vegetables around the chicken on the sheet pan. Toss gently so some of the sauce coats the vegetables.
Return the pan to the oven and bake for another 10 minutes. Stir once during this time so the vegetables roast evenly and the chicken cooks on all sides.
Step 7: Add pineapple and finish baking
After 20 minutes total bake time, pull the pan out and add the pineapple chunks. Toss everything together so the pineapple picks up some sauce.
Bake for another 5 to 10 minutes, until the chicken reaches 165°F in the thickest piece and the edges look slightly caramelized. The vegetables should feel tender but still hold their shape.
Step 8: Final saucing and garnish
Pour the remaining sweet and sour sauce from the saucepan over the hot chicken and vegetables. Toss gently on the pan so everything glazes evenly. Sprinkle with sliced green onions and sesame seeds.
Serve the oven-baked sweet and sour chicken hot over rice, noodles, or cauliflower rice. Spoon extra sauce from the pan over each serving.
What to Serve with Oven-Baked Sweet and Sour Chicken Recipe
This oven-baked sweet and sour chicken pairs perfectly with steamed jasmine rice, brown rice, or simple fried rice. You can add a side of roasted broccoli, snap peas, or a crunchy cabbage slaw to balance the sweetness. Kids usually love it with plain white rice and some cucumber slices on the side. If you want a lighter plate, serve it over cauliflower rice or a bed of shredded lettuce for a takeout-style rice bowl feel.
Storage Options
- Store leftovers in an airtight container in the fridge for up to 4 days.
- Reheat in a skillet over medium heat with a splash of water or pineapple juice until hot and saucy.
- Use the oven at 350°F for 10 to 12 minutes if you want to keep the coating a little firmer.
- Freeze portions in freezer-safe containers for up to 2 months, then thaw overnight in the fridge and reheat on the stovetop.
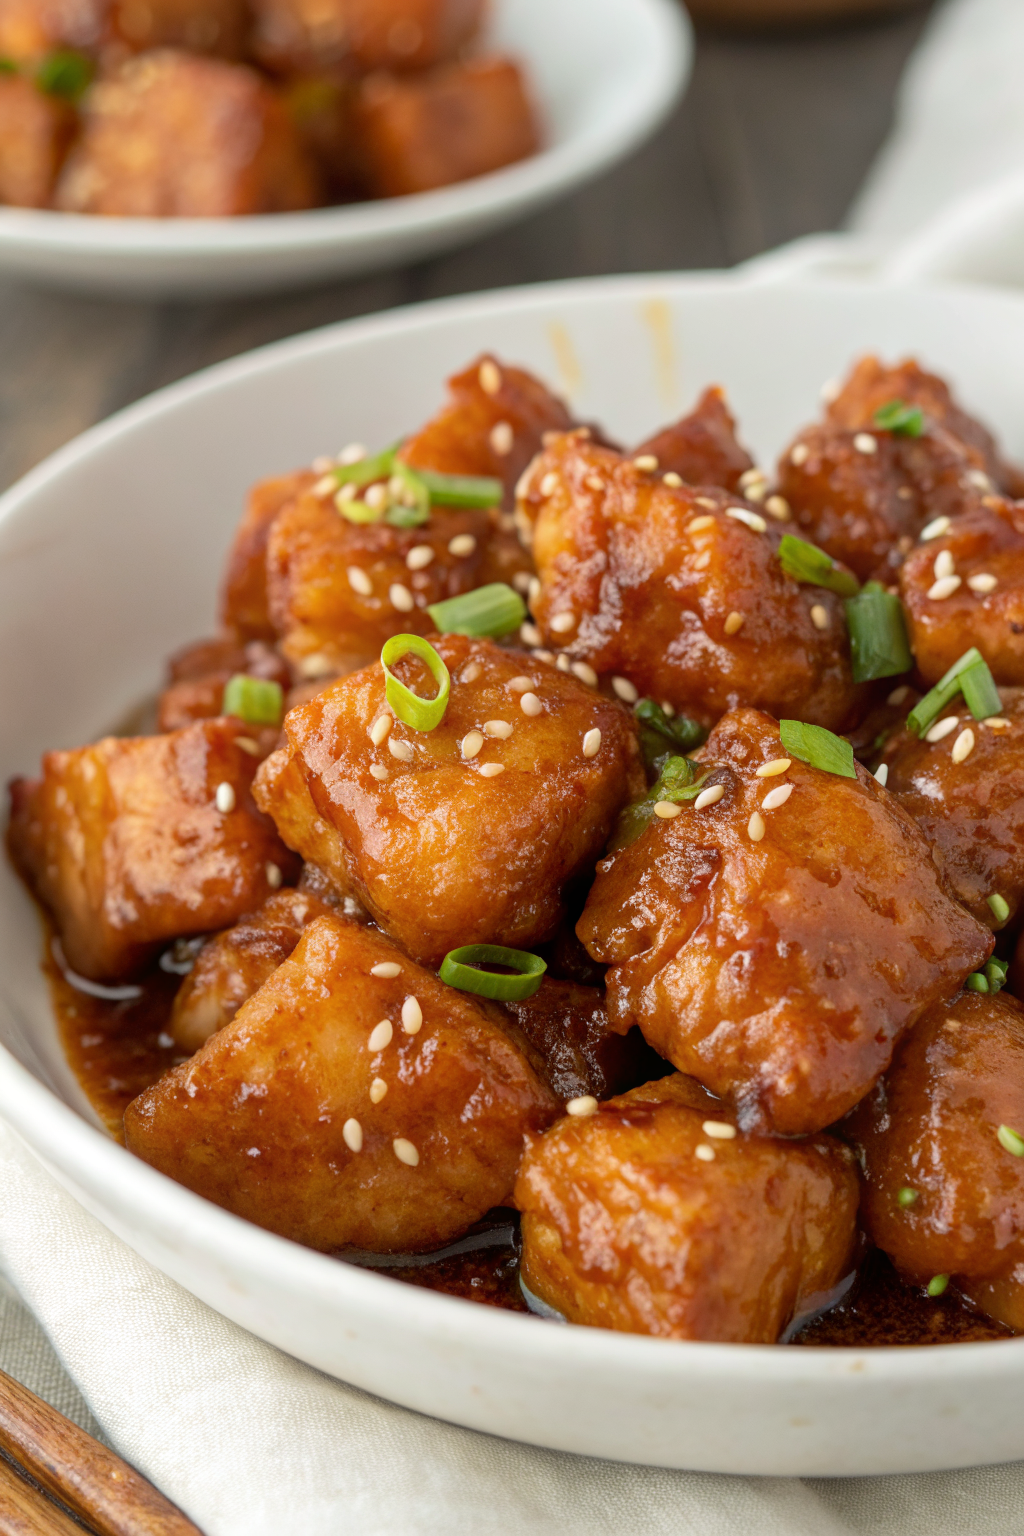
Oven-Baked Sweet and Sour Chicken Recipe
Ingredients
Instructions
- Preheat the oven to 400°F (200°C). Line a large rimmed sheet pan with parchment paper or a silicone baking mat and lightly spray or brush with oil.
- Add the chicken pieces to a mixing bowl and season with salt, black pepper, and garlic powder. Pour the beaten eggs over the chicken and toss to coat. Sprinkle in the cornstarch and stir until the chicken pieces are evenly coated and slightly sticky.
- Spread the coated chicken in a single layer on the prepared sheet pan, leaving a little space between pieces. Set aside while you make the sauce.
- In a small saucepan, whisk together the ketchup, rice vinegar (or apple cider vinegar), granulated sugar, soy sauce (or tamari), and pineapple juice. Add the minced garlic and ginger.
- In a small cup, stir together the 1 tablespoon cornstarch and 1 tablespoon water until smooth, then whisk this slurry into the saucepan.
- Place the saucepan over medium heat and bring the mixture to a gentle bubble, whisking constantly, until the sauce thickens and looks glossy, about 2 to 3 minutes. Remove from the heat and taste, adjusting with a little more vinegar or sugar if desired.
- Pour about two-thirds of the hot sweet and sour sauce over the chicken on the sheet pan. Toss with tongs or a spatula until every piece is coated. Keep the remaining sauce warm on very low heat or covered off the heat.
- Place the sheet pan on the upper rack of the oven and bake for 10 minutes. Remove the pan, toss the chicken pieces, and spoon some of the sauce from the pan over any dry spots.
- In a bowl, toss the red bell pepper, green bell pepper, and yellow onion with the oil and a small pinch of salt. Scatter the vegetables around the chicken on the sheet pan and toss gently so some of the sauce coats the vegetables.
- Return the pan to the oven and bake for another 10 minutes, stirring once so the vegetables roast evenly and the chicken cooks on all sides.
- After 20 minutes total bake time, remove the pan and add the pineapple chunks. Toss everything together so the pineapple picks up some sauce.
- Bake for another 5 to 10 minutes, until the chicken is cooked through (165°F in the thickest pieces) and the edges are slightly caramelized. The vegetables should be tender but still hold their shape.
- Pour the remaining sweet and sour sauce from the saucepan over the hot chicken and vegetables. Toss gently on the pan so everything glazes evenly, then sprinkle with sliced green onions and sesame seeds if using.
- Serve hot over rice, noodles, or cauliflower rice, spooning extra sauce from the pan over each serving.
Notes
Approximate per serving (6 servings): 360 calories; fat 9 g; saturated fat 2 g; carbohydrates 45 g; fiber 2 g; sugars 31 g; protein 26 g; sodium 840 mg. Values are estimates and will vary based on brands, substitutions, and portion size.
Leave a Reply