
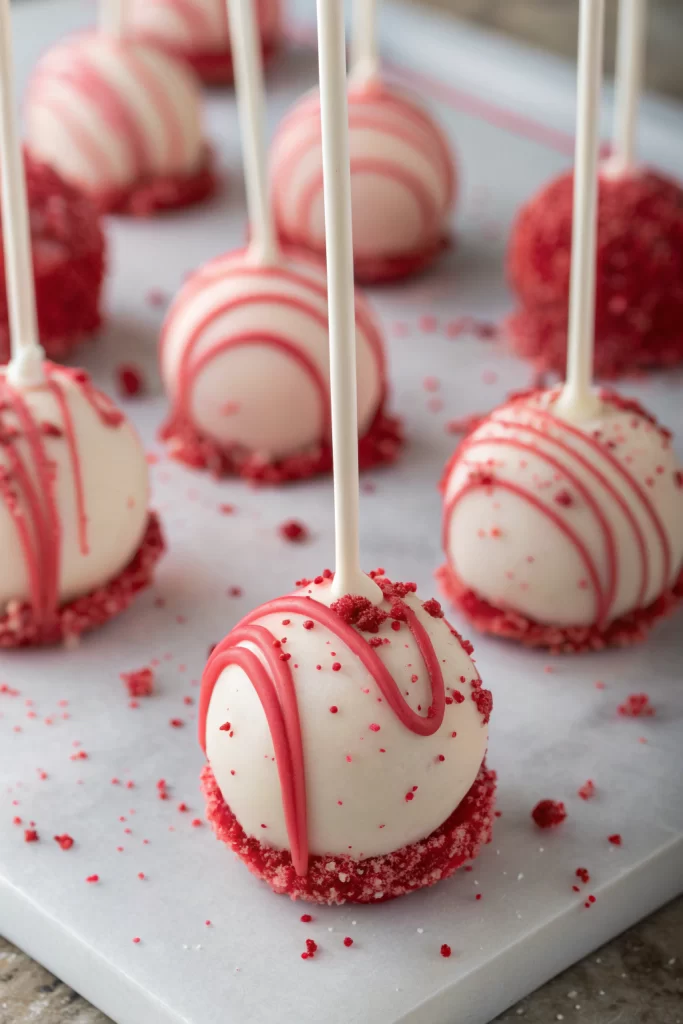
Red Velvet Cake Pops Recipe tastes like a mashup of classic red velvet cake and rich cheesecake truffles, all wrapped in a snappy chocolate shell. It works perfectly for parties, bake sales, holidays, or random Tuesday cravings, and you can finish a batch in about 1 hour 30 minutes with some chill time. I first made these for a friend’s baby shower, and people ignored the fancy cake and lined up for the pops instead.
Why You Should Try This Red Velvet Cake Pops Recipe
This Red Velvet Cake Pops Recipe gives you moist, tangy cake centers with a hint of cocoa, creamy frosting, and a crisp chocolate coating. The texture hits that sweet spot between fudgy and cakey, so every bite feels like a tiny special occasion.
You can decorate them for any holiday or theme, which makes them perfect for birthdays, Valentine’s Day, school parties, or gifting. Kids love them because they come on a stick, and adults love them because they taste like nostalgia in bite-size form.
“I brought a batch of this Red Velvet Cake Pops Recipe to a potluck, and they vanished before anyone touched the brownies. The centers tasted soft and rich, the coating snapped perfectly, and not a single pop slid off the stick. Several people asked which bakery I used, and I just smiled and pointed at my mixer.”
Ingredients You’ll Need
For the red velvet cake
- 1 box red velvet cake mix
- Use any good quality brand you like; I often grab Duncan Hines or Betty Crocker.
- You can bake a homemade red velvet cake instead if you prefer.
- Ingredients listed on the cake mix box
- Usually eggs, oil, and water
- Use neutral oil like canola or vegetable oil for best flavor
For the frosting mixture
You can use homemade cream cheese frosting or a shortcut with store bought.
- 4 ounces cream cheese, softened
- 2 tablespoons unsalted butter, softened
- 1 teaspoon vanilla extract
- 1 to 1½ cups powdered sugar, sifted
- Start with 1 cup and add more if you want a sweeter, thicker frosting
- Pinch of fine sea salt
Shortcut option:
- 1 cup store bought cream cheese frosting
- I like the Pillsbury cream cheese frosting for this recipe because it stays smooth and blends easily with the cake crumbs.
For the coating
- 16 ounces candy melts or almond bark
- Use bright white, vanilla, or chocolate flavor
- Candy melts set more reliably than regular chocolate and work better for beginners
- 1 to 2 teaspoons refined coconut oil or vegetable shortening
- This helps thin the coating so it dips smoothly
Decorations
- Sprinkles in red, white, or any theme you like
- Crumbled leftover red velvet cake or cake crumbs for garnish
- Colored sugar or nonpareils
Equipment
- 9×13 inch baking pan for the cake
- Parchment paper
- Large mixing bowl
- Hand mixer or stand mixer
- Rubber spatula
- Baking sheet
- Lollipop sticks (about 6 inch length)
- Styrofoam block, cake pop stand, or an upside down cardboard box with holes poked in it
- Small microwave safe bowl or double boiler for melting candy
- Cookie scoop or tablespoon measure
Tips & Tricks
- Bake the cake a day ahead so it cools completely and crumbles easily.
- Use only enough frosting to hold the crumbs together; stop when the mixture feels like play dough that holds its shape.
- Chill the cake balls before you dip them so they stay firm and do not fall off the sticks.
- Dip the tip of each stick into melted candy before inserting it into the cake ball to glue it in place.
- Keep the coating warm and fluid; reheat it in short bursts if it thickens.
- Work with small batches of cake balls from the fridge so they stay cold while you dip.
- Spin the stick gently as you lift each pop from the coating to let extra chocolate drip off.
- Add sprinkles while the coating still feels wet so they stick well.
- If cracks appear, patch them with a bit of warm coating and a sprinkle garnish.
- Use a styrofoam block or cake pop stand so the pops can dry upright without smudging.
How to Make Red Velvet Cake Pops Recipe
Step 1: Bake the red velvet cake
Preheat your oven to the temperature on the cake mix box. Grease a 9×13 inch pan and line it with parchment paper so the cake releases easily. Prepare the red velvet cake mix according to package directions, then pour the batter into the pan and smooth the top.
Bake until a toothpick comes out clean from the center, usually 25 to 30 minutes. Set the pan on a wire rack and let the cake cool completely. You can even chill it in the fridge for 30 minutes so it crumbles more cleanly.
Step 2: Mix the frosting
While the cake cools, beat the softened cream cheese and butter in a bowl until they look smooth and fluffy. Add vanilla and a pinch of salt, then mix again. Gradually beat in powdered sugar until the frosting looks creamy and spreadable, not runny.
If you use store bought frosting, scoop 1 cup into a bowl and stir it well to loosen it. Taste and adjust sweetness if you like by adding a spoonful of powdered sugar. Keep the frosting at room temperature so it blends easily with the cake crumbs.
Step 3: Crumble the cake
Once the cake cools, cut off any very browned edges if they feel dry. Break the cake into large chunks and place them in a large mixing bowl. Use clean hands to crumble the cake into fine, even crumbs with no big pieces.
You can also pulse the cake in a food processor in short bursts if you want super fine crumbs. Aim for a texture that looks like slightly moist sand. This texture helps the frosting mix in evenly and prevents random dry pockets.
Step 4: Combine cake crumbs and frosting
Add about half of the frosting to the bowl of cake crumbs. Use clean hands or a spatula to mix and press the frosting into the crumbs. Add more frosting a spoonful at a time until the mixture holds together when you squeeze it, like firm cookie dough.
Stop before it turns mushy or sticky. If you add too much frosting, the cake pops may slide off the sticks. If the mixture feels too soft, add a handful of extra cake crumbs to balance it.
Step 5: Shape the cake balls
Line a baking sheet with parchment paper. Use a small cookie scoop or tablespoon to portion the mixture into even mounds. Roll each portion between your palms to form smooth, tight balls about 1 to 1¼ inches in diameter.
Place each ball on the lined baking sheet. You should get about 24 to 30 cake balls, depending on size. Chill the tray in the fridge for at least 1 hour or in the freezer for 20 to 30 minutes until firm but not rock hard.
Step 6: Prepare the coating
Place the candy melts or almond bark in a microwave safe bowl. Heat in 20 to 30 second bursts, stirring after each burst, until mostly melted. Add 1 teaspoon coconut oil or shortening and stir until smooth and fluid.
If the coating still feels thick, add a tiny bit more coconut oil until it flows easily off the spoon. Keep the bowl over a mug of warm water or near the warm oven so it stays fluid while you work. Avoid getting any water into the bowl, since that can cause clumping.
Step 7: Attach the sticks
Remove a few cake balls from the fridge and keep the rest chilling. Dip about ½ inch of a lollipop stick into the melted coating. Insert the dipped end of the stick into the center of a cake ball, going about halfway through.
Set the pop back on the tray with the ball side down and repeat with the rest. Chill the tray again for 10 to 15 minutes so the coating at the base sets and anchors the sticks. This step keeps the cake pops from spinning or falling off during dipping.
Step 8: Dip the cake pops
Transfer a small amount of the melted coating to a narrow, deep cup or glass so you can dip more easily. Hold a cake pop by the stick and dip the entire ball into the coating, submerging it fully. Lift it out and gently tap the stick on the rim while you rotate the pop so extra coating drips off evenly.
Keep the pop upside down as you tap so the coating settles smoothly around the base. When the drips slow to tiny drops, turn the pop upright. Stick the end of the stick into a styrofoam block or cake pop stand so the pop can dry without touching anything.
Step 9: Decorate
While the coating still looks wet, sprinkle on your decorations. Use red and white sprinkles for a classic red velvet look or match the colors to your party theme. You can drizzle a second color of melted candy over the set coating for a bakery style finish.
Work in small batches so the coating does not set before you add sprinkles. If the coating thickens as you go, warm it again in the microwave for 10 seconds and stir. Let the cake pops sit at room temperature until the coating hardens completely.
Step 10: Chill and serve
Once the coating sets, transfer the cake pops to the fridge for about 15 minutes to firm up the centers. Serve them chilled or at cool room temperature. The centers taste rich and fudgy when cold and slightly softer when they warm up.
Arrange them in a jar filled with rice or sugar, or lay them flat on a platter. Add a little tag or ribbon on the sticks if you plan to gift them. Try not to eat half the batch while you “taste test” them, which I say from experience.
What to Serve with Red Velvet Cake Pops Recipe
Serve this Red Velvet Cake Pops Recipe with cold milk, hot chocolate, or a cozy mug of coffee or tea. They pair nicely with fresh berries or a simple fruit salad to balance the richness. You can also set them on a dessert board with chocolate chip cookies, brownies, and rice cereal treats for a party spread.
If you host a kids’ party, add them to a hot cocoa bar with marshmallows and whipped cream. They also travel well in lunch boxes or treat bags, so they work great for school events or office celebrations.
Storage Options
- Store finished cake pops in an airtight container at room temperature for up to 2 days if your kitchen stays cool.
- Keep them in the fridge for up to 5 to 7 days; place parchment between layers so they do not stick.
- Freeze undecorated cake balls on a tray, then move them to a freezer bag and store for up to 2 months; thaw in the fridge before dipping.
- Freeze finished cake pops in a single layer, then wrap them gently and store for up to 1 month; thaw in the fridge and serve chilled.
- If condensation forms after chilling, let the pops sit at room temperature until dry before you package or serve them.
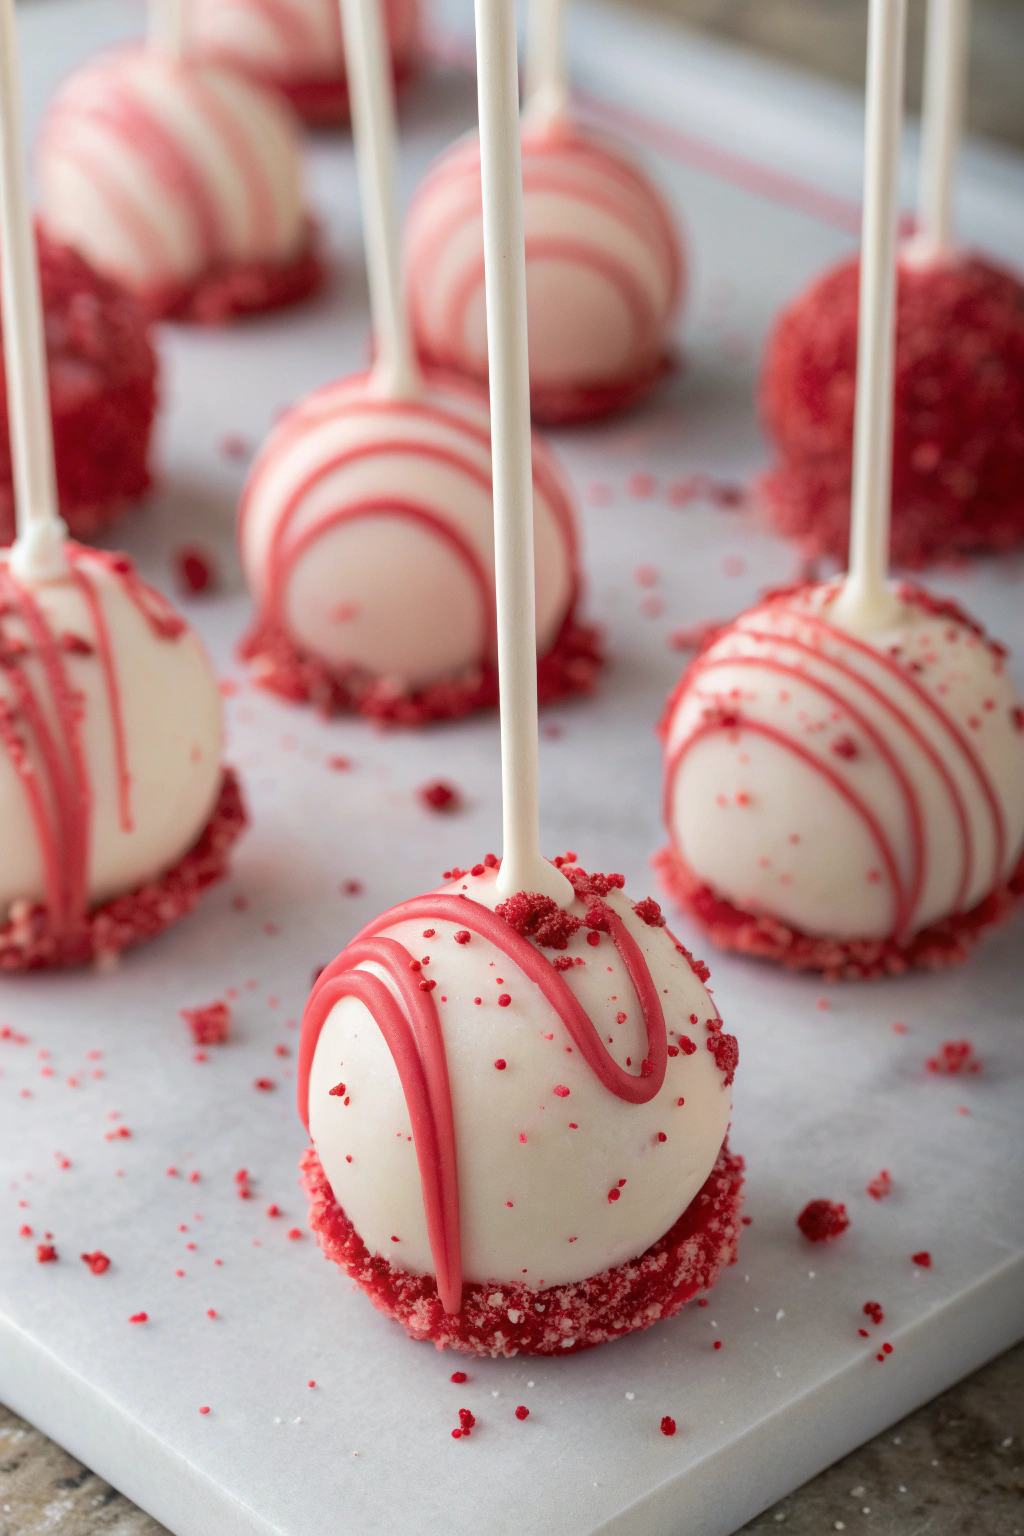
Red Velvet Cake Pops Recipe
Ingredients
Instructions
- Preheat the oven to 350°F (175°C). Grease and line an 8-inch square baking pan.
- In a bowl, whisk together flour, cocoa powder, baking soda, and salt.
- In another bowl, whisk sugar, buttermilk, vegetable oil, egg, vanilla, vinegar, and red food coloring until smooth.
- Add dry ingredients to wet ingredients and mix just until combined.
- Pour batter into the prepared pan and bake for 20–25 minutes, or until a toothpick inserted in the center comes out clean.
- Cool completely in the pan, then crumble the cake into fine crumbs in a large mixing bowl.
- Beat cream cheese and butter together until smooth and creamy.
- Add powdered sugar and vanilla; beat until thick, smooth frosting forms.
- Add a few spoonfuls of frosting at a time to the crumbled cake, mixing with a spatula or clean hands until the mixture holds together when pressed. You may not need all of the frosting.
- Roll the mixture into 1-inch balls and place them on a parchment-lined baking sheet. Chill in the refrigerator for at least 1 hour or in the freezer for 20–30 minutes until firm.
- Melt candy melts in a microwave-safe bowl in 20–30 second intervals, stirring between each, until smooth. If too thick, stir in a small amount of shortening or coconut oil.
- Dip the tip of a lollipop stick into the melted candy, then insert it halfway into a chilled cake ball. Repeat with remaining cake balls.
- Chill briefly to set the sticks, about 10 minutes.
- Holding the stick, dip each cake pop into the melted candy coating, gently tapping off excess and rotating to fully cover.
- Immediately add sprinkles or decorative sugar if using, then place the stick upright in a styrofoam block or a sturdy glass to set.
- Allow the coating to harden completely before serving or packaging.
Notes
Approximate per 1 cake pop (1 of 24): 150–170 calories; fat 8–9 g; saturated fat 4–5 g; carbohydrates 19–21 g; fiber 0–1 g; sugars 15–17 g; protein 1–2 g; sodium 110–140 mg. Values will vary based on exact ingredients, candy coating type, and portion size.
Leave a Reply